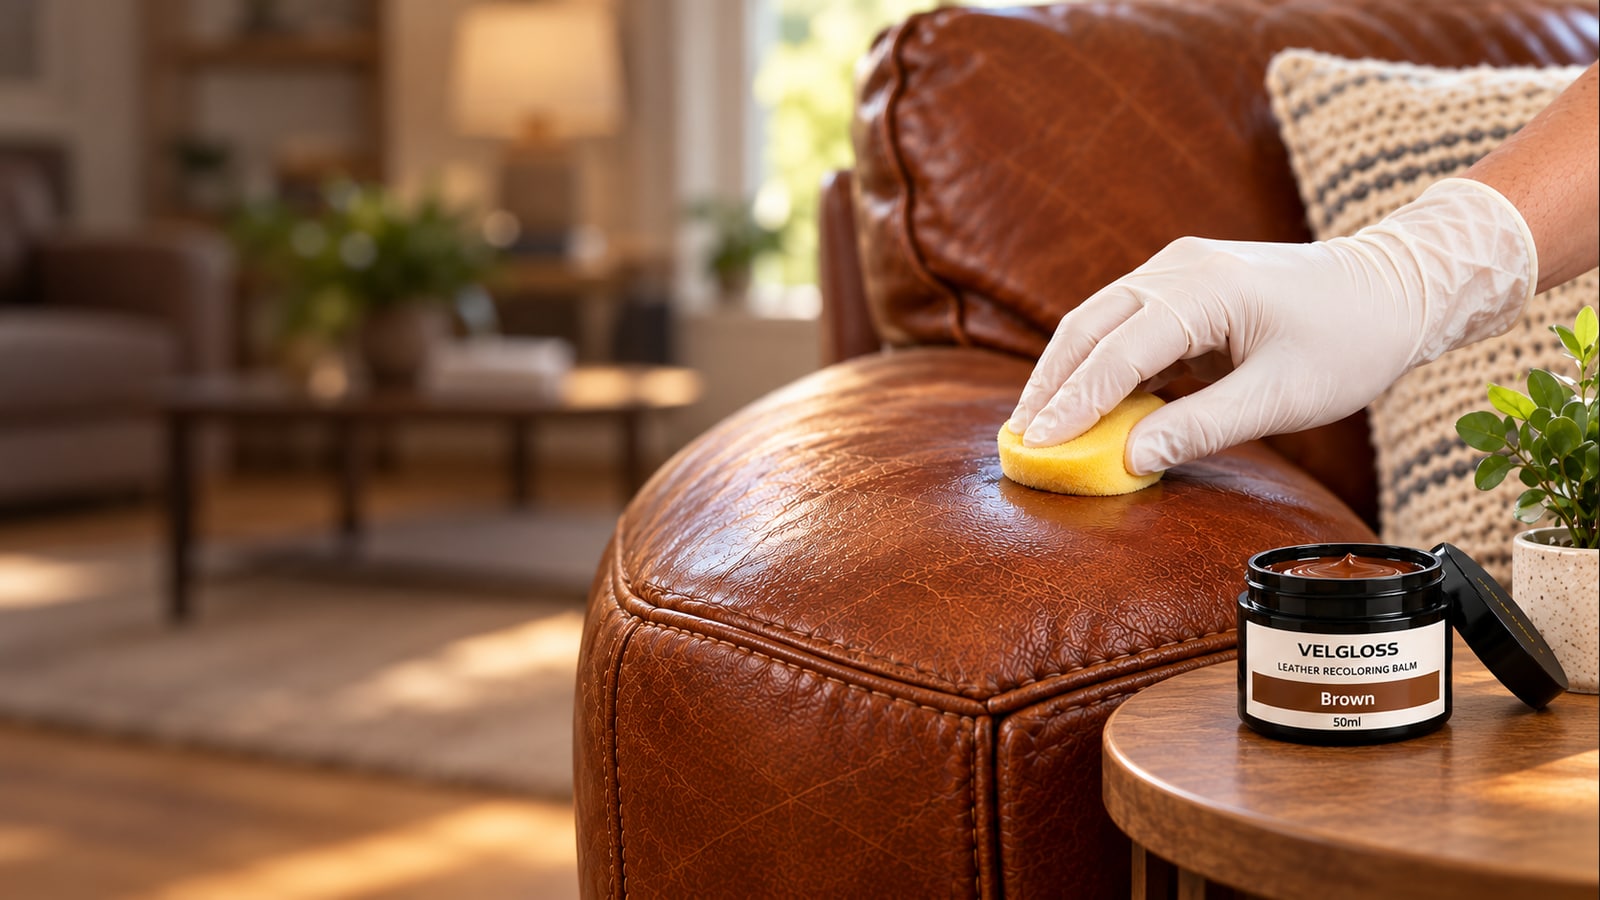
The leather-care workflow
Small test.
Careful steps.
See the process before you start. Clean, repair only if needed, restore color, then care.
Application illustration. Check material compatibility and test a hidden area before use.
The process at a glance
One careful step at a time.
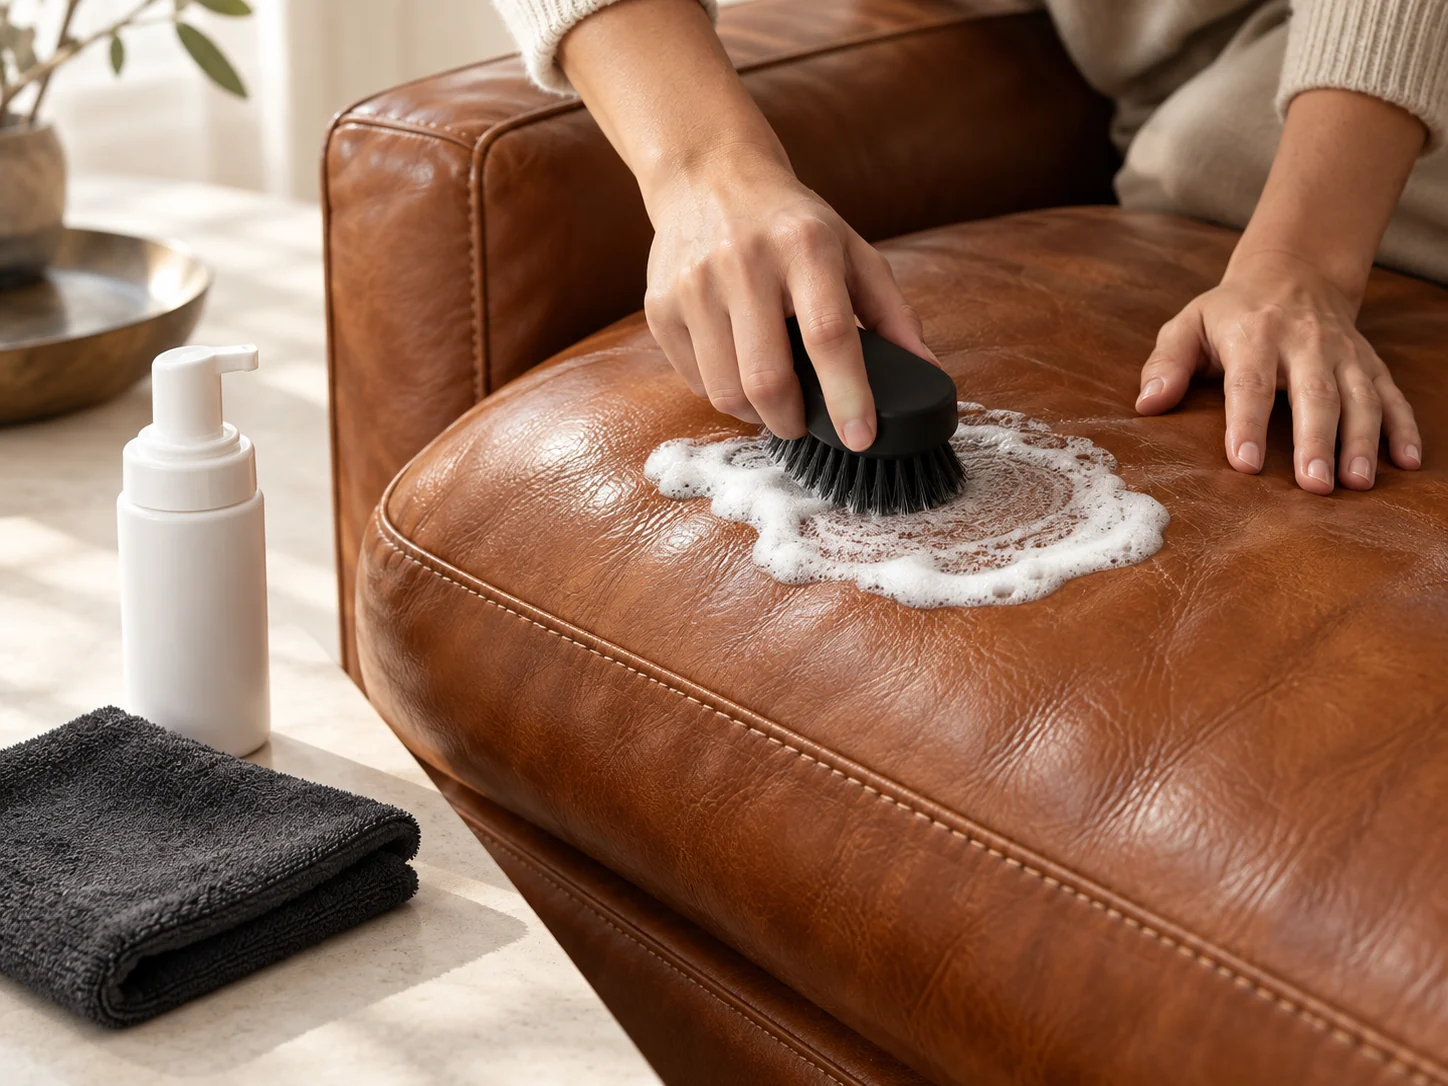
01 · Every kit
Clean
Start with the surface, not the color.
Lift dirt and residue with the supplied cleaner as directed, then allow the surface to dry.
Read this step
Identify the material and finish before cleaning. Test the cleaner out of sight. Do not saturate the leather or assume one formula suits every finish.
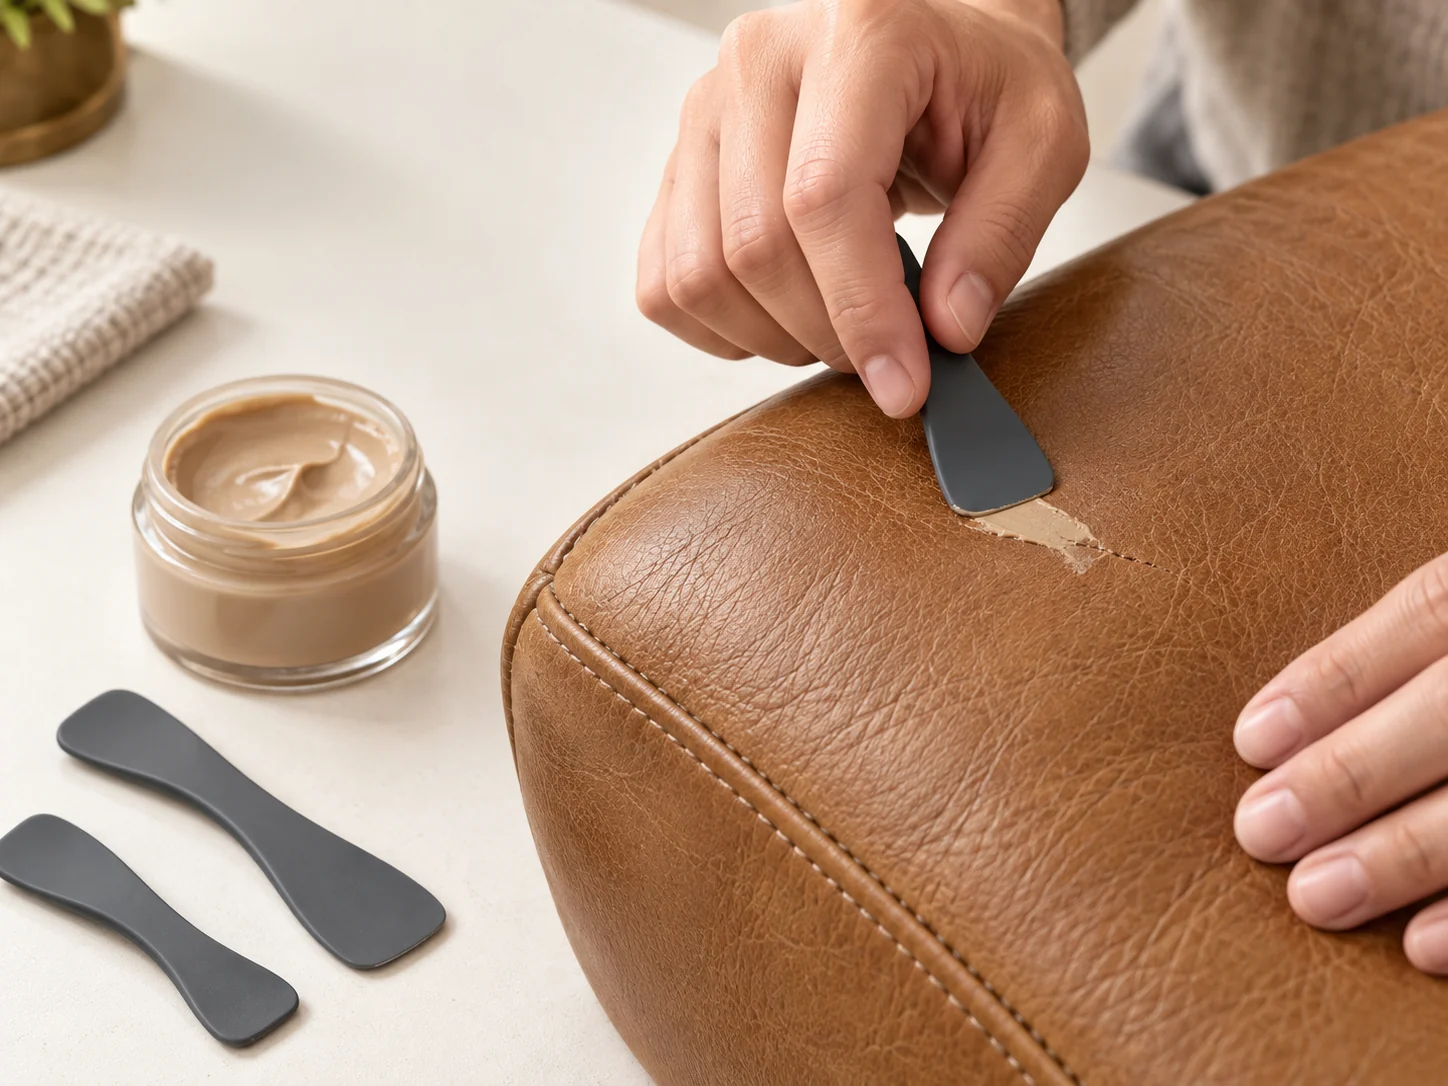
02 · Master only · if needed
Repair
Color wear is not always damage.
Use filler only for suitable small imperfections. Skip this step when the surface needs color alone.
Read this step
Follow the filler label for preparation, application and full cure. The single P2000 sheet is only for suitable cured filler if its instructions permit sanding—never sand intact leather. Peeling, deep tears, failed seams and missing material need a different repair assessment.
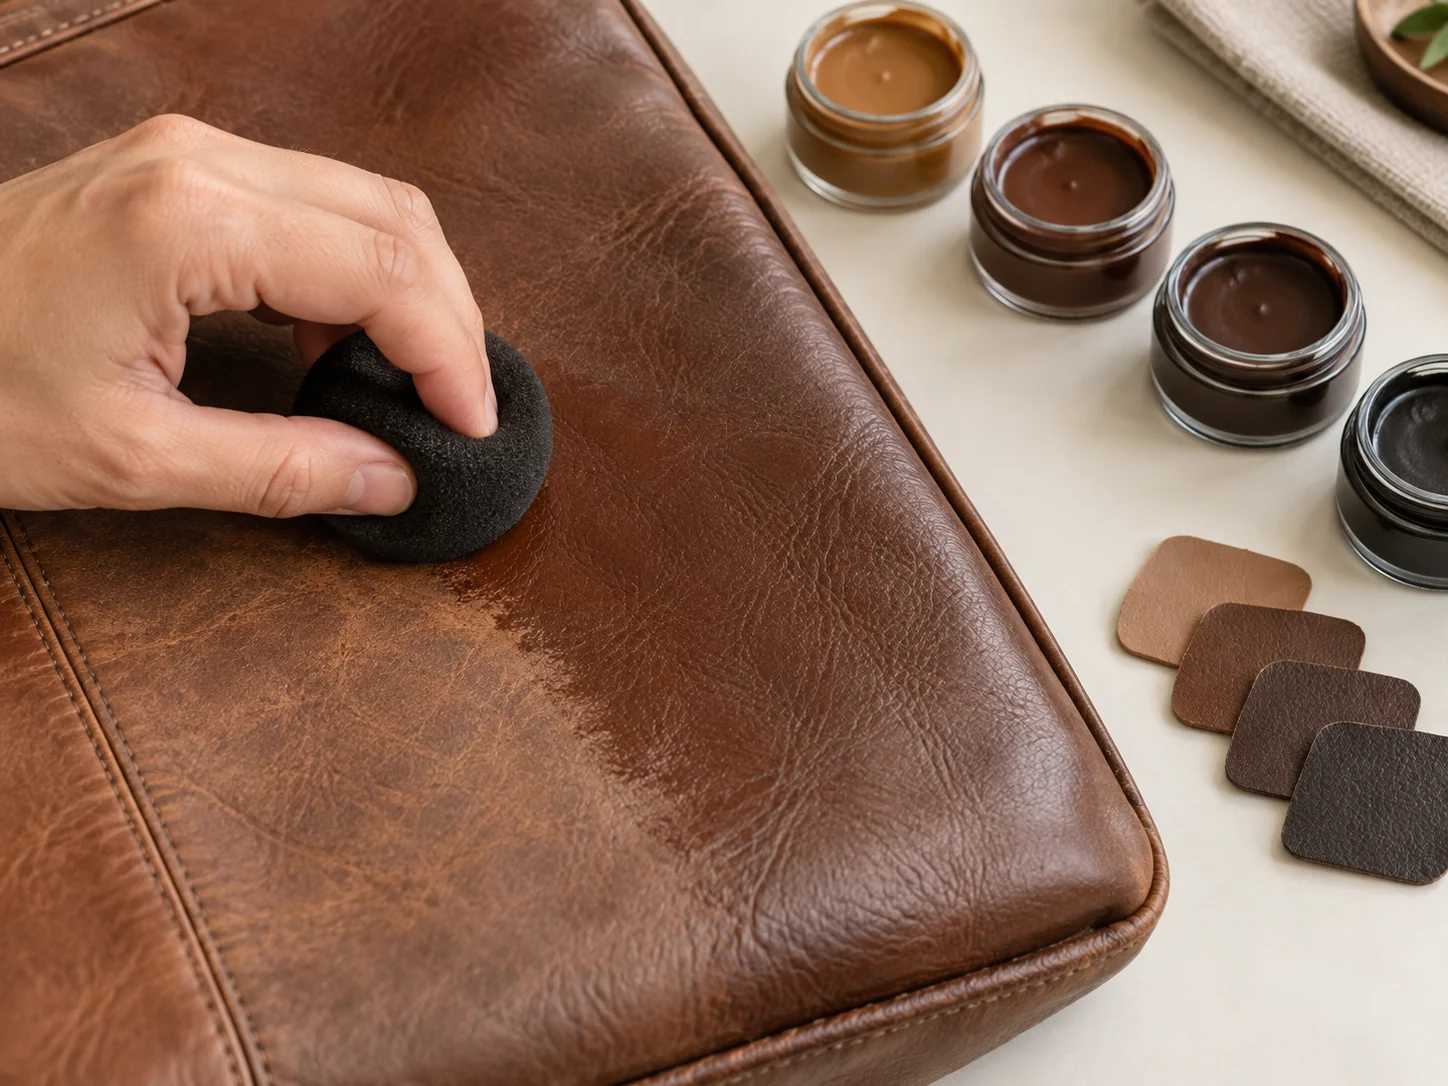
03 · Every kit
Restore color
Close shade. Small area. Thin layers.
Compare your nearest shade in a hidden spot before treating a visible area.
Read this step
Keep original bottles separate. Blend only when permitted by the formula instructions, adjusting a small portion at a time. Apply thin layers and observe the full drying and cure instructions. A close screen swatch is not an exact-match promise.
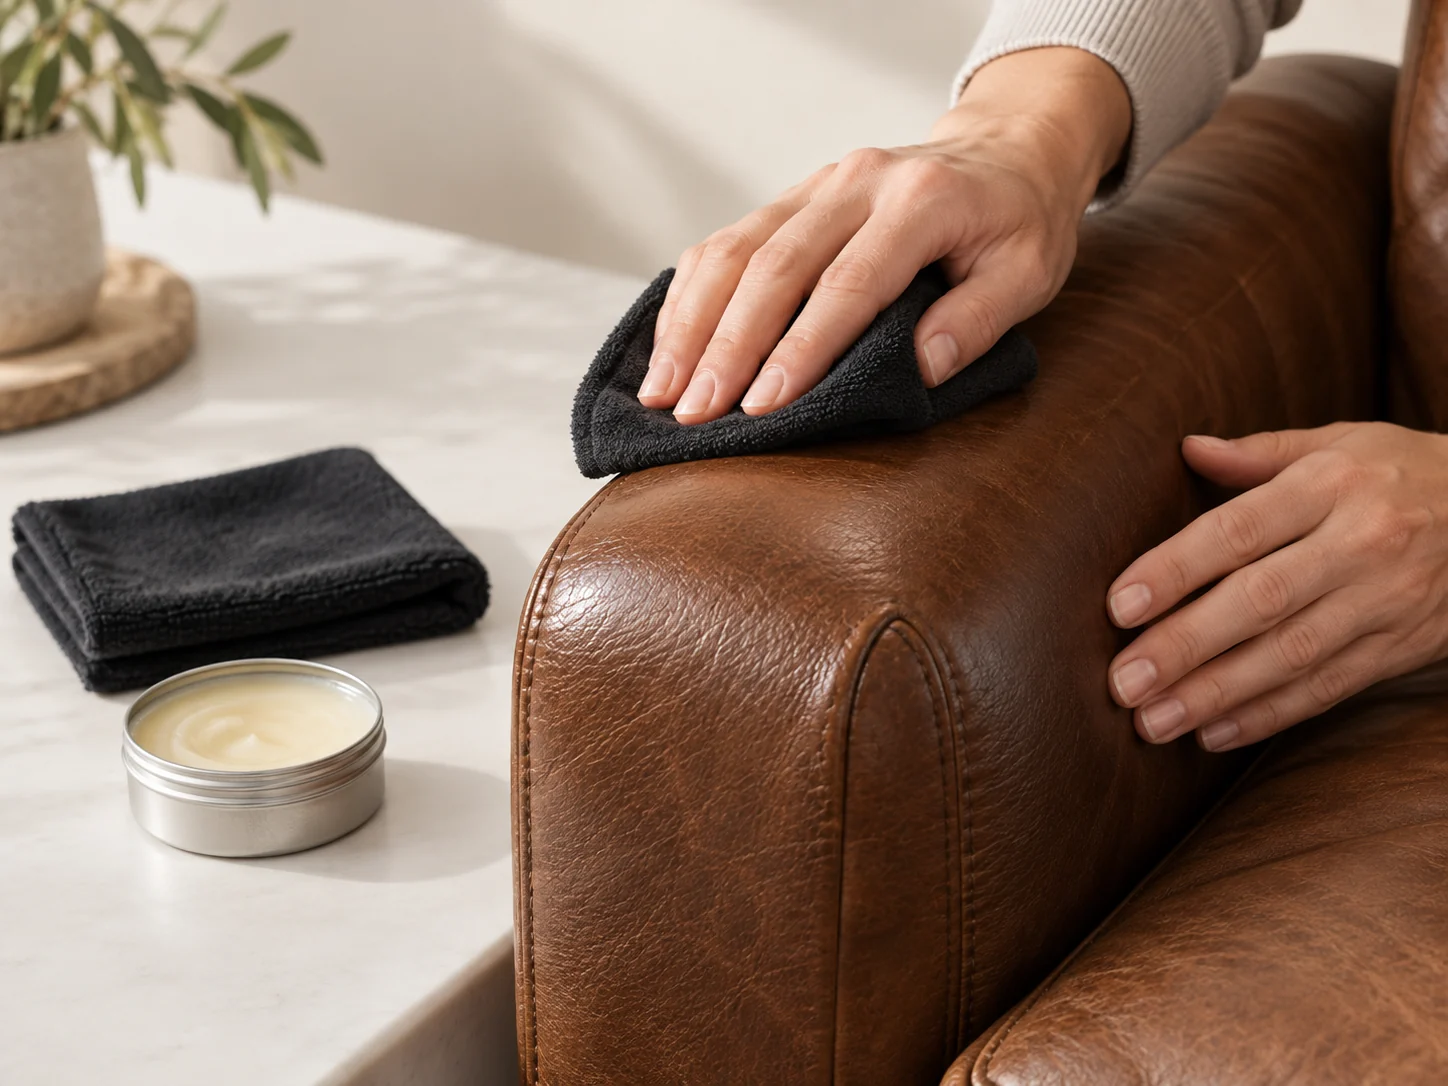
04 · Every kit
Care
Let the color finish curing first.
Use compatible colorless conditioner only after the color has fully cured.
Read this step
Follow the conditioner and color-product instructions. Check a hidden area for unwanted darkening, tackiness or a change in feel. Buff or remove excess only as directed, and do not mix conditioner into color balm.
The step you do not skip
Give the hidden test
time to tell you.
Touch-dry does not mean fully cured. Follow the full cure time on the supplied label before returning the surface to use.
- Compare the color. Check the dried shade in the light where you will use the item.
- Check feel and transfer. Use a clean white cloth on the fully cured hidden test.
- Pause if it is not right. Stop for tackiness, color transfer, an unwanted feel or a poor match. Ask before applying more.
A couch, shoes or car seats?
The finish comes first.
Use this workflow only on compatible smooth leather. Not for suede or nubuck. Peeling coatings, structural damage and unknown finishes need advice before application. For car seats, avoid perforations, controls, belts and airbag stitching, and follow vehicle care guidance.
Which kit contains which items?
| Included | Basic | Complete | Master |
|---|---|---|---|
| 50ml color bottles | 5 · 250ml total | 8 · 400ml total | 11 · 550ml total |
| Fixed foundation colors | White, Black, Red, Yellow, Blue | Same five foundations | Same five foundations |
| Additional selected colors | None | 3 different colors | 6 different colors |
| Cleaner | 150ml | 150ml | 150ml |
| Colorless conditioner | Included | Included | Included |
| Single-head brush, cloth, flower palette & spatula | Included | Included | Included |
| Applicator sponges | 2 | 4 | 4 |
| Disposable gloves | 2 pairs | 3 pairs | 4 pairs |
| Filler + paper | Not included | Not included | 60g + P2000 (230 × 93mm), one sheet |
| English card + online guide QR | Included | Included | Included |
| Box + insert | Included | Included | Included |
| USD price | $49.99 Customize Basic | $69.99 Customize Complete | $89.99 Customize Master |
Extra 50ml color bottles: $12.99 each. No guaranteed coverage or exact color match.
Your next small project