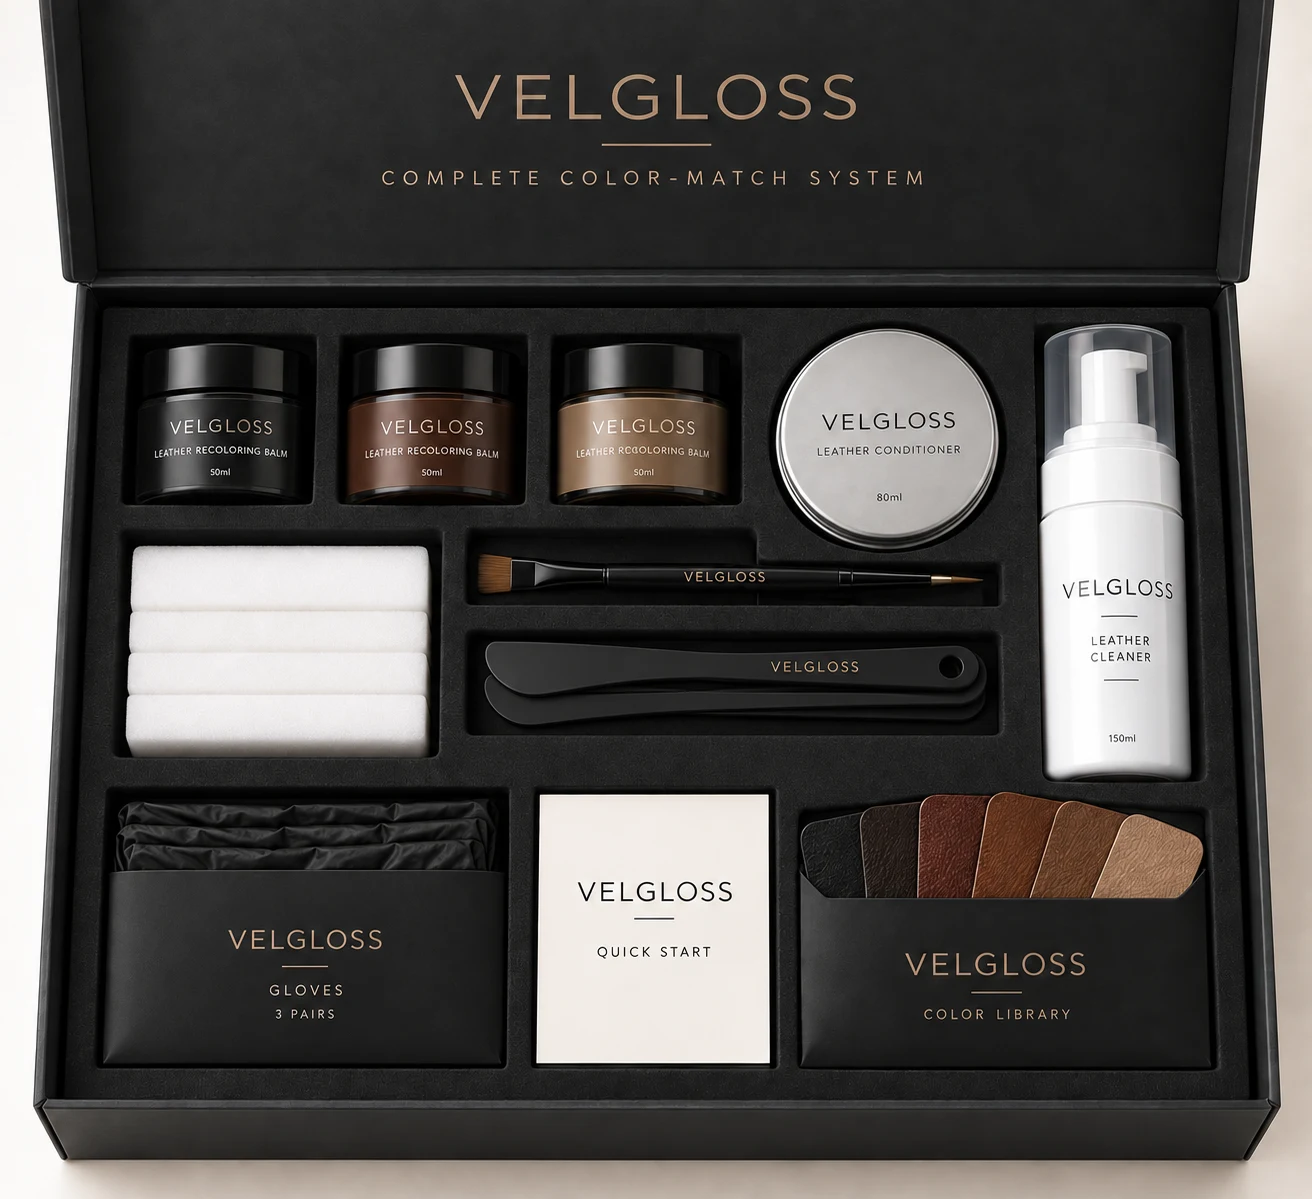
See the system in motion
Prepare the surface before asking color to do its job.
Follow the visual sequence below. Repair is optional, and every color should be tested on a hidden area first.

Clean
Start with what is on the surface.
Use the cleaning step to remove everyday dirt and residue. A carefully prepared surface makes the condition of the leather easier to assess.
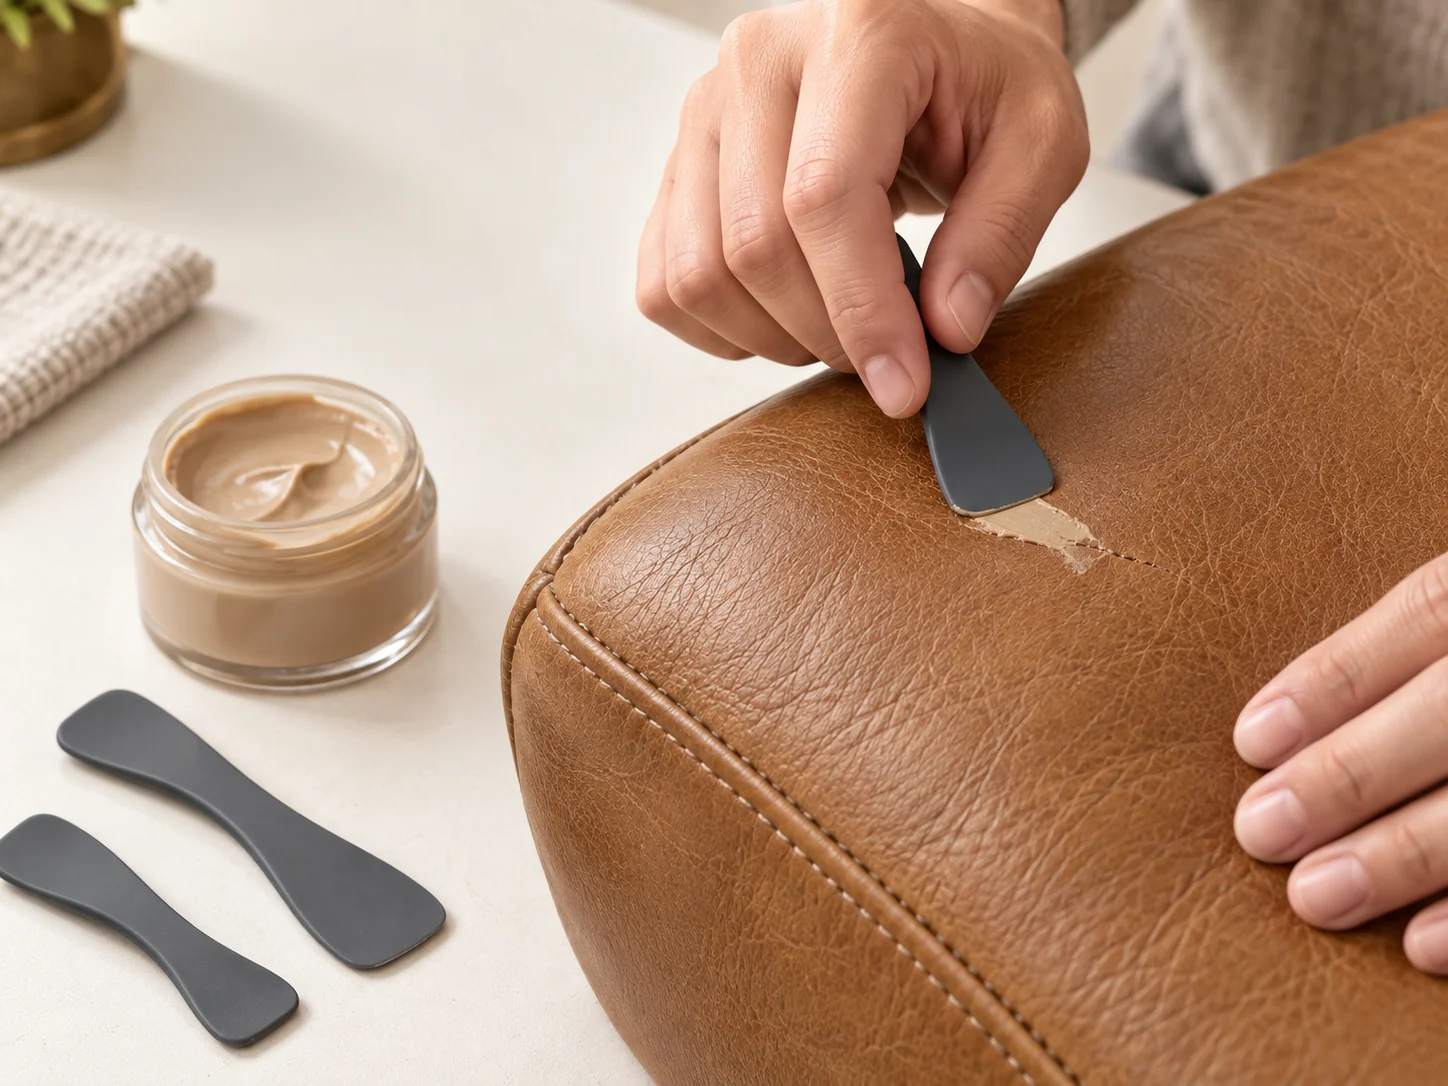
Repair · Optional
Fill only where the surface needs it.
Use the repair step for small cracks or imperfections where appropriate. Repair is optional and is not intended for large tears, holes or structural damage.

Restore
Return color with control.
Choose the closest shade, test it on a hidden area and work in careful, even layers across the worn surface.
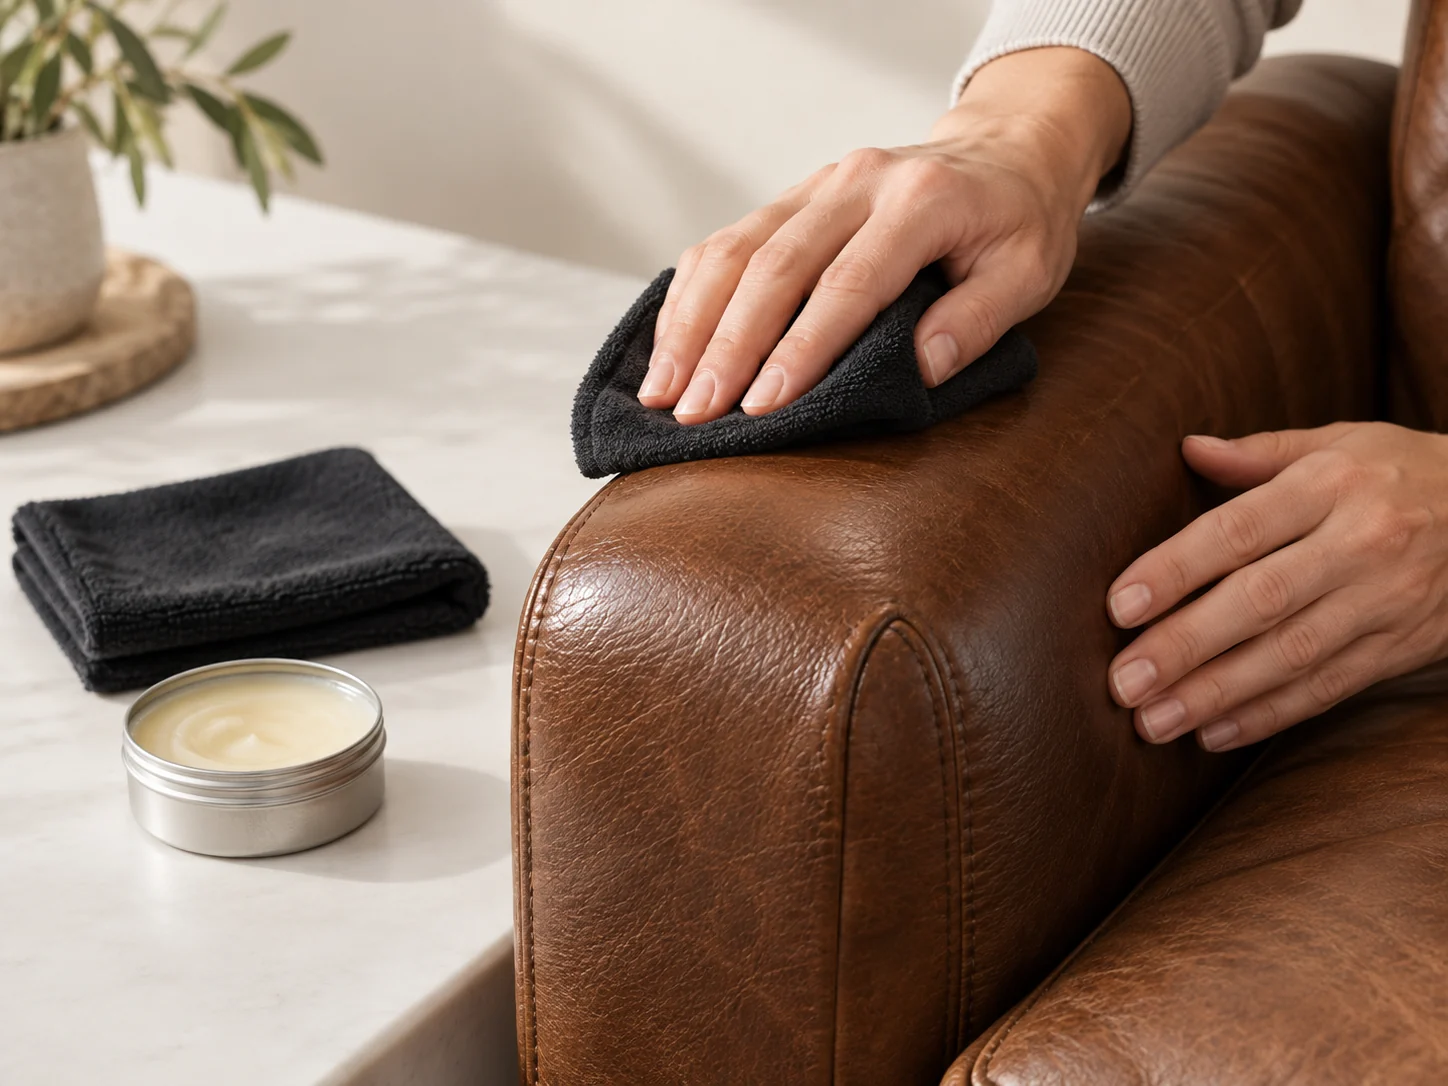
Care
Finish the restored surface.
Complete the process with Leather Conditioner, following the instructions supplied with the product.
Illustrative step visuals — packaging and included tools may vary by system. Always follow the supplied instructions.
Before you begin
Test first. Work patiently.
Clean and test a small, hidden area before moving to a visible section. Color appearance varies with leather type, finish, lighting and existing wear.
Know the limits
Stop when the damage is structural.
Severe peeling, large tears, large holes and failed seams should be assessed by a qualified repair professional. Do not use this workflow on suede or nubuck.