The online color guide
START CLOSE.
ADJUST A LITTLE.
You do not need to turn your table into a color lab. Start with the nearest ready-made shade. If the small, dry test already looks close, leave it alone.
When a shade needs a little help, change one thing at a time: lighter, darker, or warmer. The directions below are starting ideas, not tested formulas or a promise of an exact match.
First, look at the piece
Which color family
are you trying to match?
Compare a clean, less-worn spot in natural daylight. Look at both its depth and its undertone: a warm brown is not just a lighter dark brown. Do not match the faded patch you want to restore.
White & cream · Gray · Tan & beige · Warm light brown · Mid-brown · Dark brown & black
White & cream
Start with White.
Test White by itself first. For a warmer cream direction, a trace of Tan in a separate small portion of White is a starting idea. Stop well before it looks beige.
Do not assume this will match ivory, cool off-white or an aged finish. If it is already too warm, adding more Tan is the wrong move.
Gray
Start light. Add Black slowly.
For a neutral-gray direction, begin with a small portion of White and add the tiniest amount of Black. For deeper gray, increase Black a little at a time.
Black and White may not reproduce a blue-gray, warm gray or the sheen of your leather. This is not an exact gray formula.
Tan & beige
Compare Tan first.
If the dry Tan test is a little too deep, try a small addition of White in a separate portion. If it is too pale, compare Light Brown before deciding to blend.
Keep the undertone in view. A beige seat with a cool cast may need a different ready-made shade, not a larger mixture.
Warm light brown
Compare Light Brown and Tan.
Start with whichever individual dry test is closer. A small amount of Tan in Light Brown can be explored when you want a lighter tan direction; Brown is a deeper comparison.
“Cognac” and “caramel” describe many different finishes. For a strongly red or orange target, compare the appropriate ready-made shades in the directory first.
Mid-brown
Start with Brown.
If it is a little too deep, compare Light Brown or try a small addition in a separate portion. If it is too light, try a little Dark Brown.
Judge the dry sample before adding anything else. Matching the depth will not automatically fix a red, yellow or gray undertone.
Dark brown & black
Keep the brown—or keep the black.
Start with Dark Brown for a deep brown surface. Brown is a lighter comparison; a trace of Black is a possible deeper direction, but can quickly overpower the brown.
For a black surface, test Black alone first. A faded gray patch does not mean the original leather was gray. Do not add other colors unless the dry comparison gives you a reason.
These examples focus on a few familiar shades within our 56-color directory. Gold and Silver are metallic finishes, not substitutes for ordinary mixing colors. No kit guarantees every leather color, multi-tone effect or pigment undertone. Screen colors are references, not physical color standards.
A small change, not a new recipe
What looks different
in your dry test?
A little too dark?
Try a nearby lighter shade first. White can move a small mixture in a lighter direction, but may also make it look chalkier or change its warmth. More White is not always a better match.
A little too light?
Try a nearby deeper shade within the same family. For brown, compare Dark Brown before reaching for Black. Black is easy to overdo; add far less than you think you need.
The wrong undertone?
Choose a closer ready-made shade. Compare a closer ready-made shade before adding more pigment; the five foundation colors are not a guarantee of an exact match. A color mixture cannot correct the leather’s grain or gloss.
Keep the full bottle unchanged. Put a small test portion in a separate clean container. Add a tiny amount of one compatible color, mix thoroughly, then test again. Leave the original shades separate.
Use only color balms from the same compatible formula when the supplied product directions permit mixing. Do not mix in cleaner, conditioner, filler, household dyes, water or solvents to adjust the color. Follow the label for application and curing.
You do not need fixed percentages to begin. Make one small adjustment, then let a new test tell you whether it helped. If the result is moving away from your target, stop instead of using up the whole kit.
The dry test makes the decision
Check a small spot.
Not the whole couch.
- Check suitability. Identify the material and finish first. Peeling coatings, suede, nubuck, deep tears and failed stitching need a different approach. Read our leather decision guides if you are unsure.
- Prepare as directed. Use the compatible cleaner according to the label and let the area dry. Test cleaner compatibility out of sight too.
- Try the nearest shade alone. Apply a small, thin test in an inconspicuous area as the label directs. If it is close enough, there is no need to blend.
- Adjust only a separate portion. If necessary, follow one of the directions above. Do not mix the whole bottle or experiment on the visible worn area.
- Wait for the full stated cure time. Compare in daylight and in the lighting where the piece is used. Check color, feel and transfer with a clean white cloth as directed. Touch-dry is not the same as ready for use.
Stop if it feels sticky, transfers color, damages the finish or is still a poor match. More layers or more colors are not a safe workaround. Ask before continuing.
No dry test, no full-area application. An online swatch can help narrow a comparison, but cannot tell you how your own leather will respond.
Find the kit and shades for your project. Compare the kits or ask about your leather before you begin.
The current starting palette
56 color references.
No guaranteed screen match.
Use these screen swatches to narrow your choice, not to predict a mixed or dried result. The kit contents below show what is included in each kit.
56 color references
Compare ready-made shades before blending. Screen colors are approximate; metallic finishes cannot be predicted from a flat swatch.
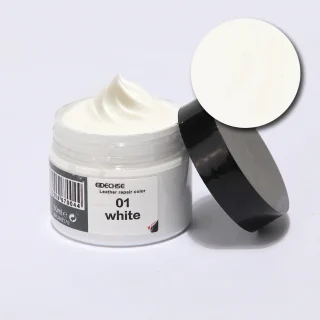 WhiteCode 01
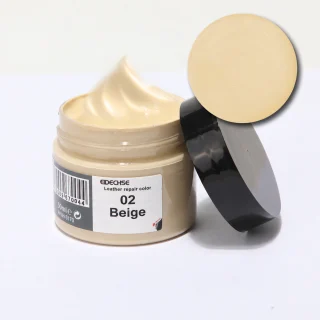 BeigeCode 02
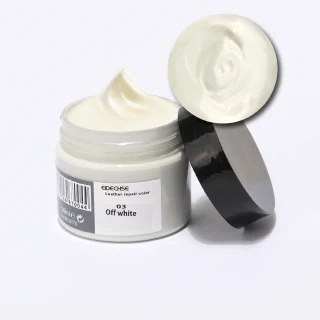 Gray WhiteCode 03
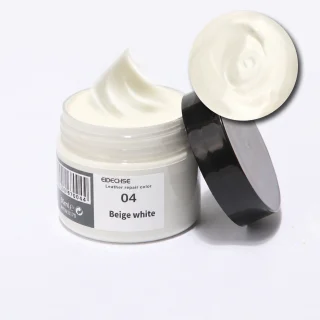 IvoryCode 04
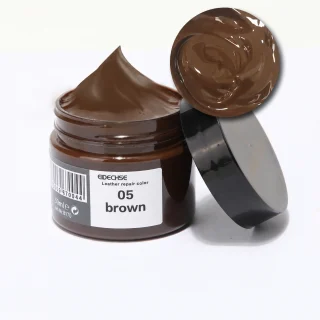 BrownCode 05
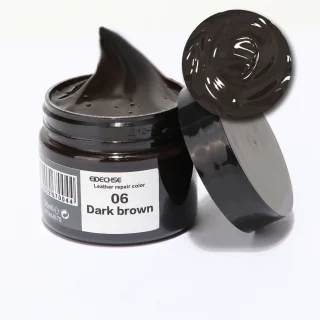 Dark BrownCode 06
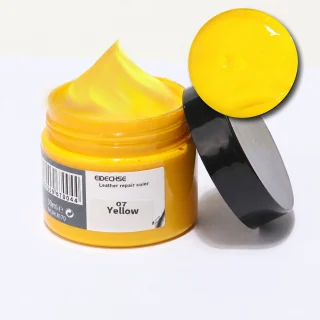 YellowCode 07
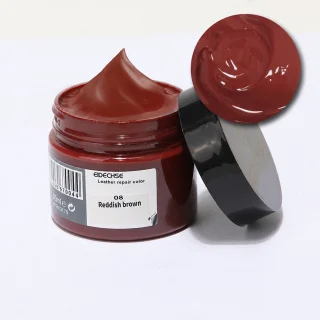 Red BrownCode 08
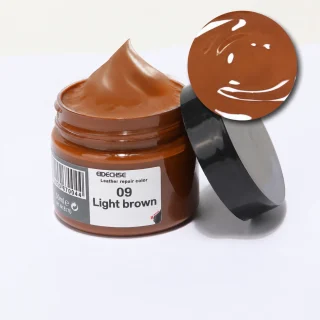 Light BrownCode 09
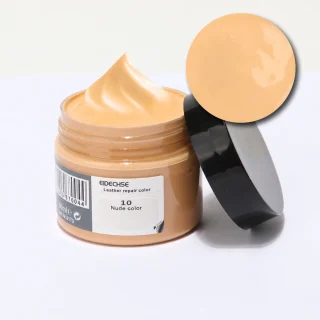 NudeCode 10
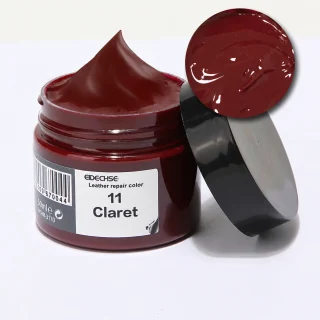 Wine RedCode 11
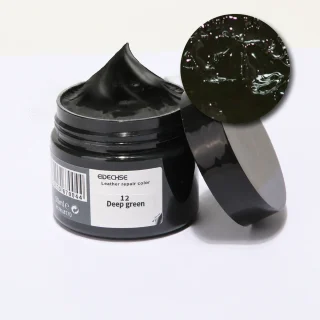 Deep Forest GreenCode 12
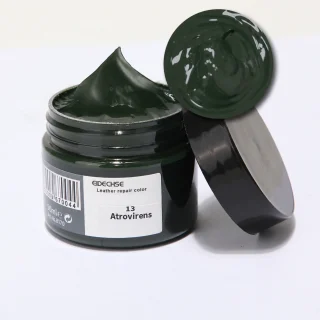 Forest GreenCode 13
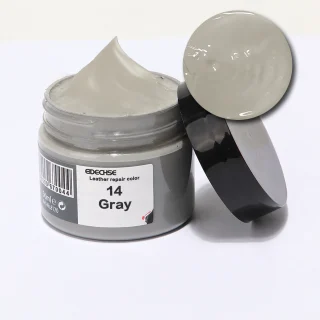 GrayCode 14
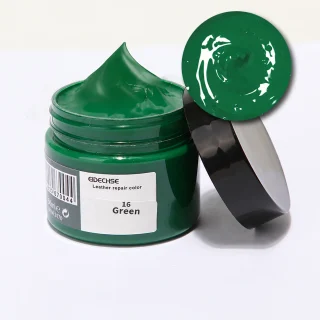 GreenCode 16
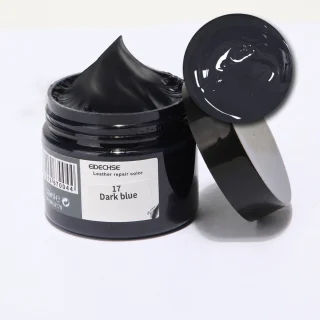 Dark BlueCode 17
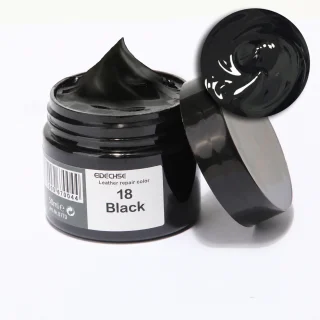 BlackCode 18
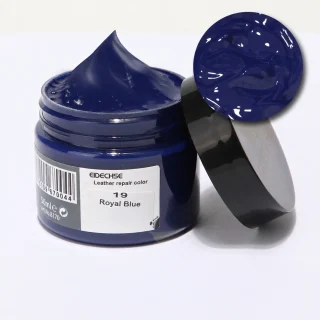 Royal BlueCode 19
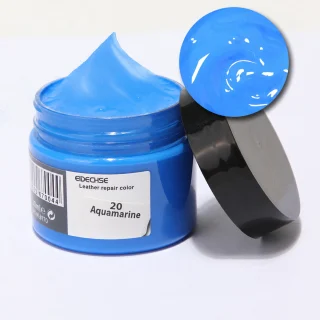 Ocean BlueCode 20
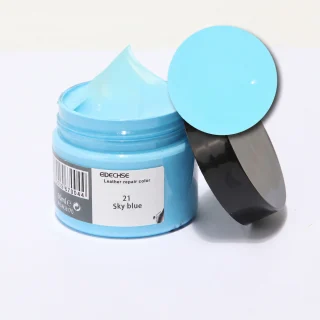 Sky BlueCode 21
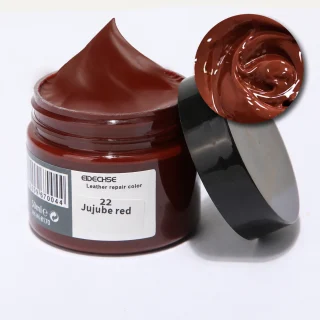 MaroonCode 22
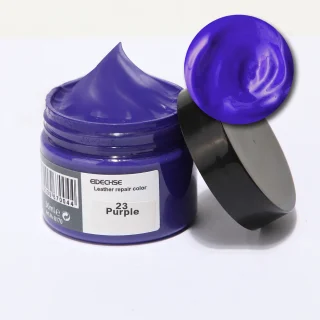 PurpleCode 23
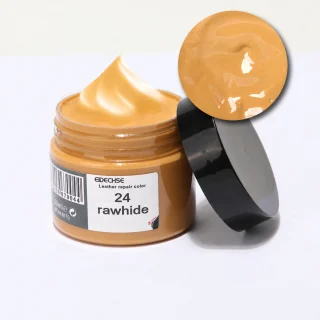 Natural Leather ToneCode 24
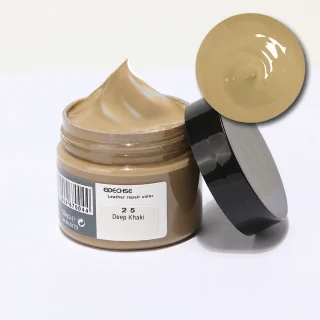 Dark KhakiCode 25
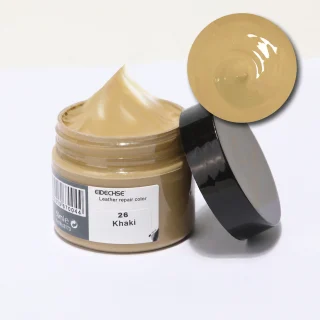 KhakiCode 26
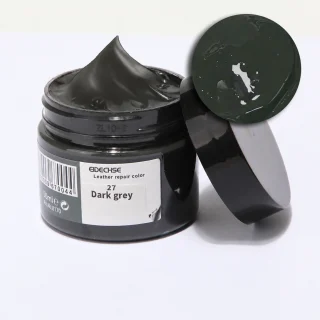 Dark GrayCode 27
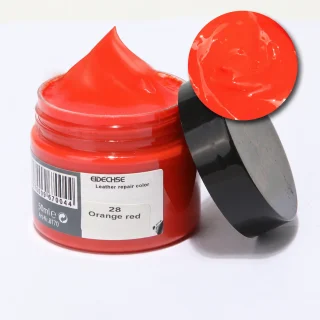 Orange RedCode 28
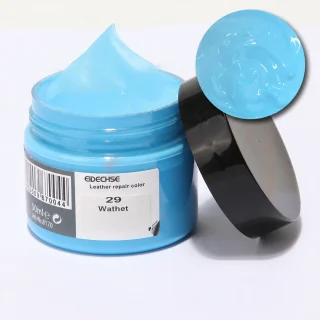 Light BlueCode 29
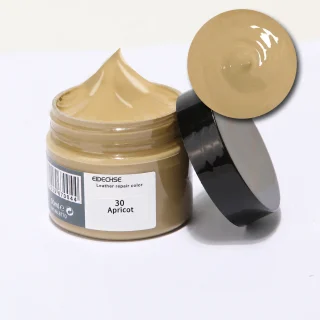 ApricotCode 30
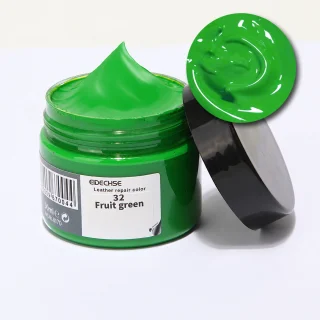 Apple GreenCode 32
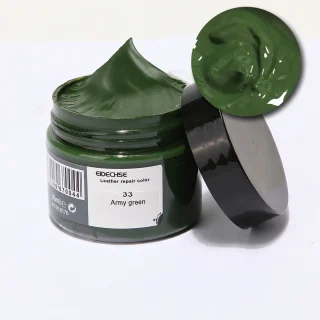 Army GreenCode 33
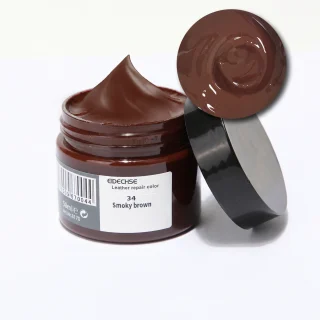 Smoky BrownCode 34
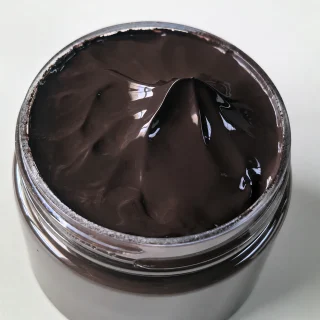 Mocha BrownCode 35
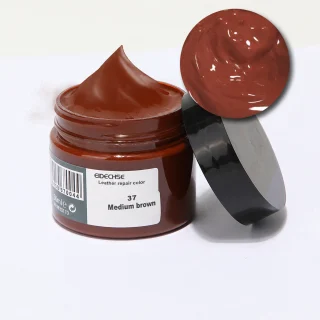 Medium BrownCode 37
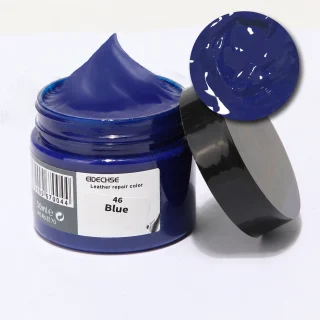 BlueCode 46
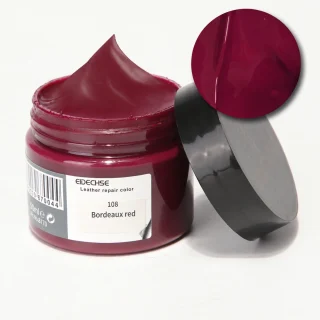 BurgundyCode 108
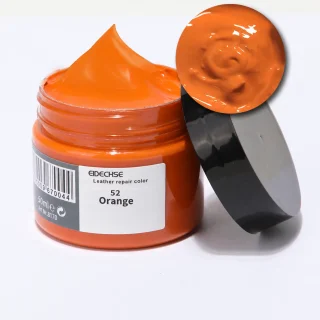 OrangeCode 52
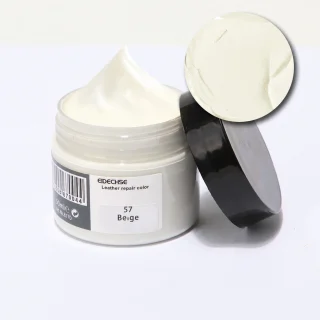 Cream YellowCode 57
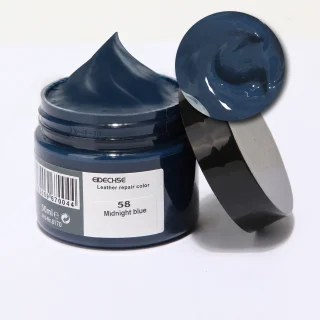 Midnight BlueCode 58
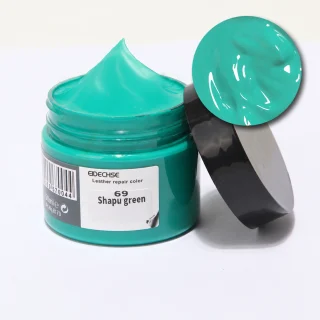 TealCode 69
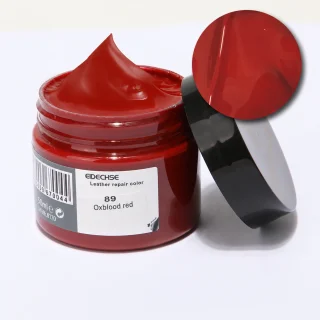 Dark RedCode 89
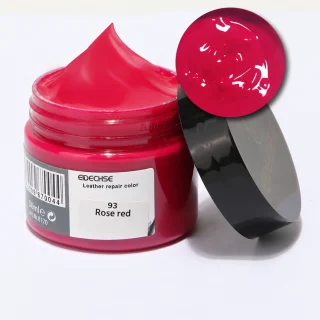 Rose RedCode 93
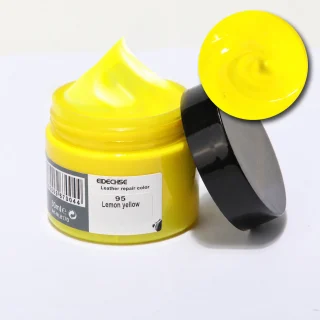 Lemon YellowCode 95
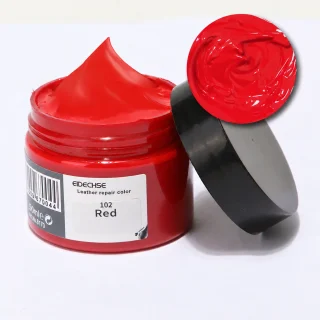 RedCode 102
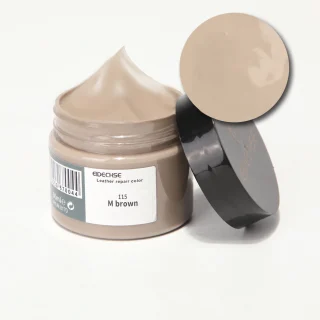 Beige BrownCode 115
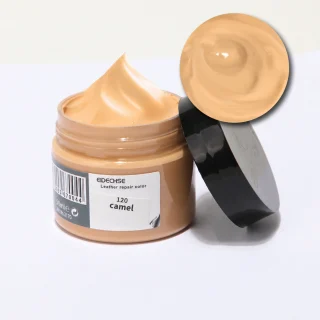 Tan / CamelCode 120
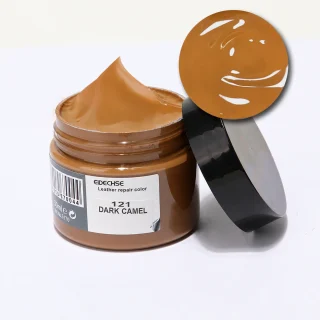 Dark CamelCode 121
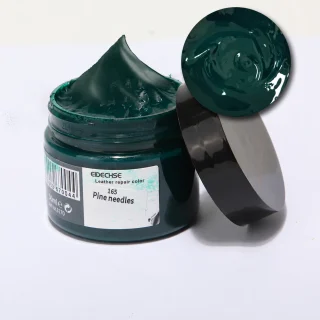 Pine GreenCode 165
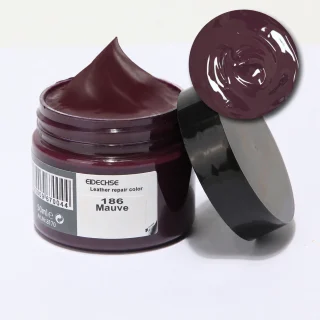 Red PurpleCode 186
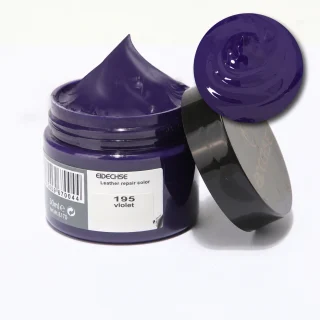 VioletCode 195
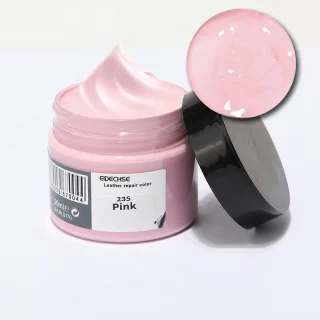 PinkCode 235
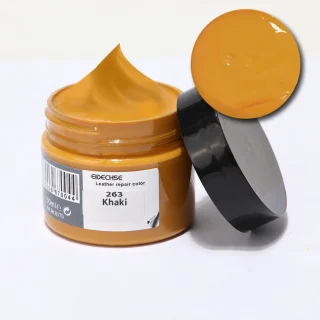 OchreCode 263
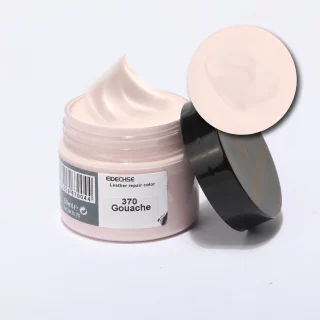 Pale PinkCode 370
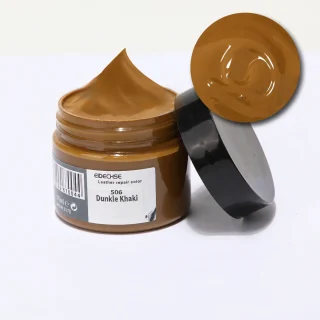 Dark OchreCode 506
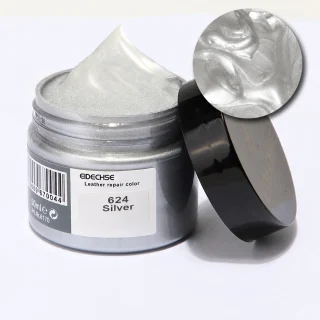 Silver — MetallicCode 624
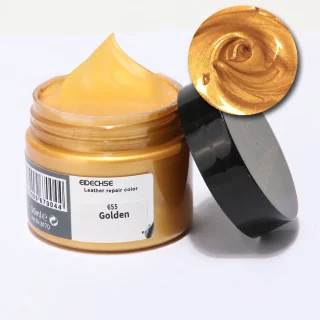 Gold — MetallicCode 655
Five, eight or eleven?
Choose for your project,
not for every possibility.
Basic
Five foundation shades
White, Black, Red, Yellow and Blue, one 50ml bottle of each. Start with a small hidden test; five colors do not guarantee every leather match.
Complete & Master
Three or six chosen shades
Complete adds three distinct ready-made shades; Master adds six. Brown, Dark Brown and Tan / Camel are an optional starting suggestion for comparison, not a tested recipe.
Black & White
No forced darker/lighter rule
You do not need a darker shade than Black or a lighter shade than White. The other colors can remain separate. Do not add them just because they came in the kit.
The kits contain 5, 8 and 11 different 50ml colors: five fixed foundations in every kit, plus three or six chosen shades in Complete and Master. Extra 50ml bottles are $12.99 each and can repeat a shade. Blending is optional; do not use every color just because it is included.
Prefer not to mix? Test the closest individual shade first. If it is not close enough, pause and ask for advice instead of applying more colors to the visible area.
Before you treat the visible spot.
- Identify the material and its finish. Look for a manufacturer care label where available.
- Compare the color in natural light after cleaning as directed.
- Test a small hidden area following the product instructions.
- Allow the full stated cure time; then assess color, feel and transfer before continuing.
The online swatches are illustrative references, not physical samples or calibrated standards. They cannot reproduce every leather, grain, finish or aged color.
Thinking about returning the kit? The standard 30-day change-of-mind policy covers eligible unused products with product containers unopened. Check your choice and read the conditions before breaking seals.
Still unsure?
Email [email protected] with the material, the area you want to treat and photos in natural light. Photos can help explain a question, but cannot guarantee a color match.