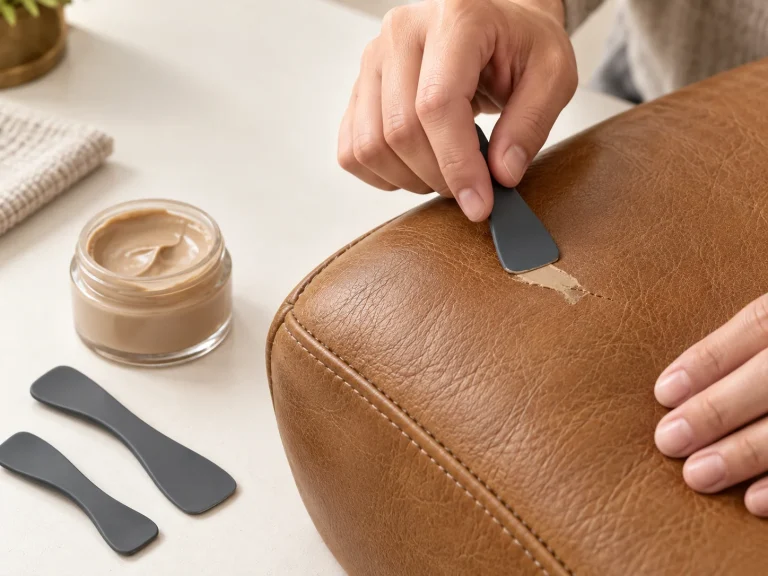
To recolor compatible leather, prepare the surface first and build color in controlled layers. The most important step is testing the selected shade on a small hidden area before committing to a visible panel.
Confirm the material and condition
This workflow is for compatible smooth leather, faux leather and vinyl with surface color loss or light wear. Do not use it as a shortcut for severe peeling, large tears, large holes, failed seams, suede or nubuck.
Clean and prepare
Use the cleaner supplied for your selected system to remove surface residue. Let the material dry fully according to the instructions before judging the original color.
Build a considered palette
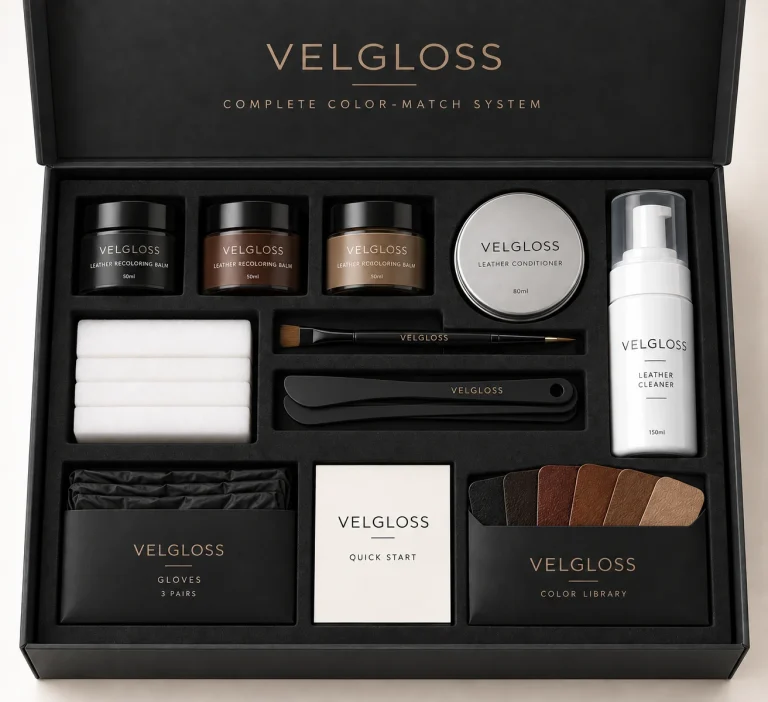
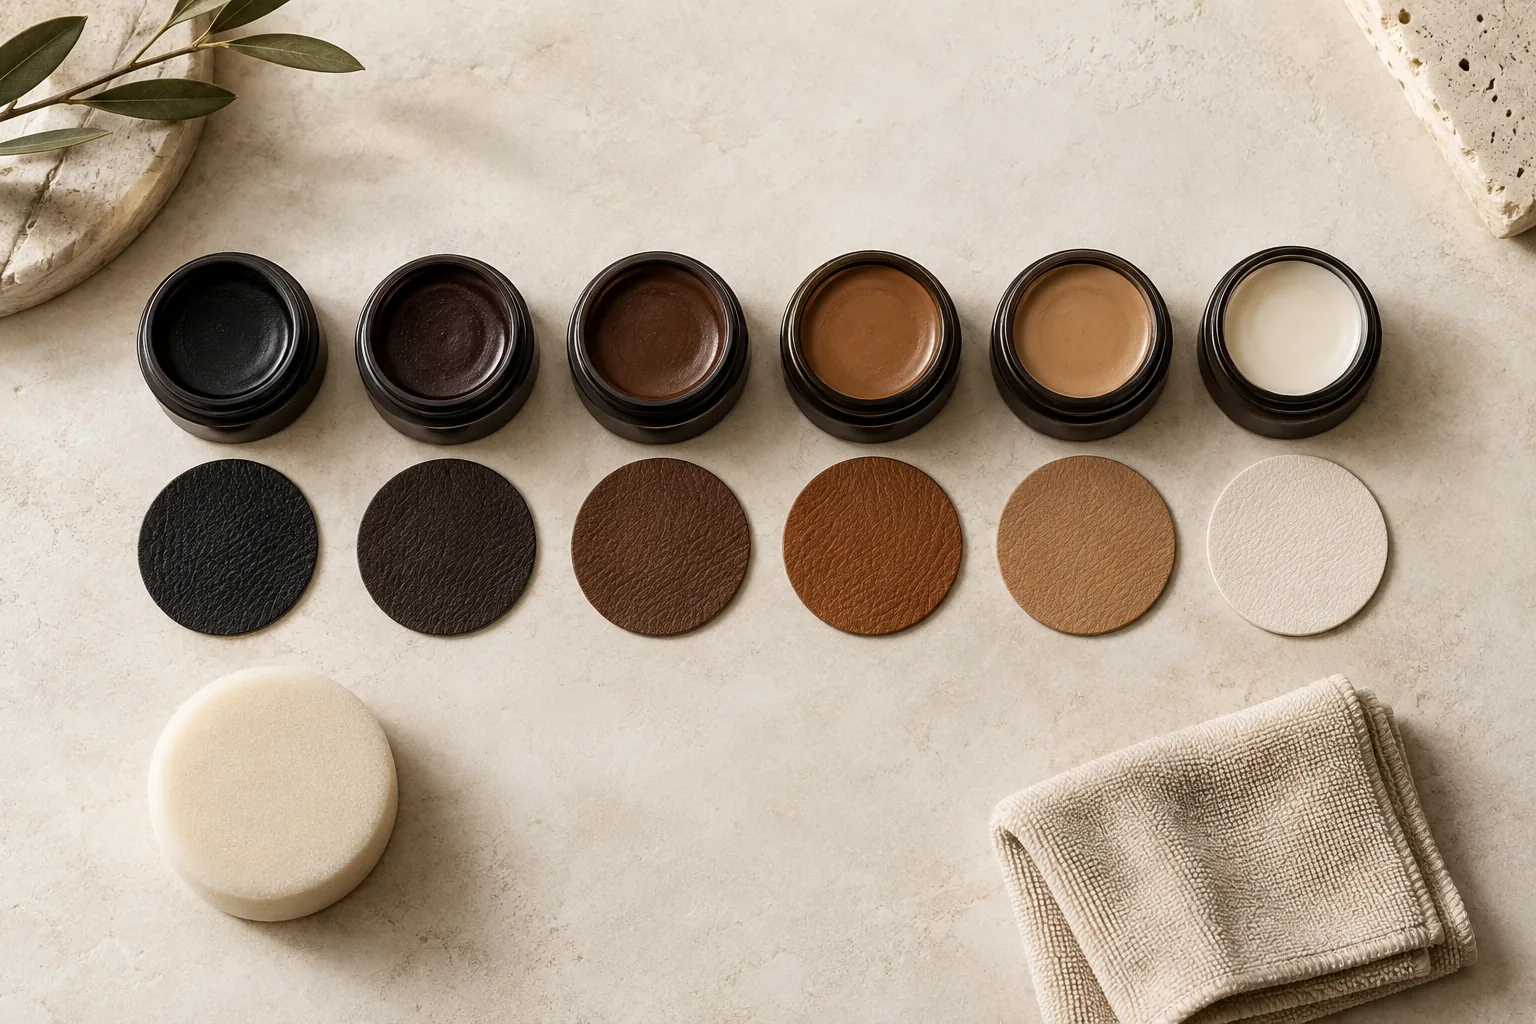
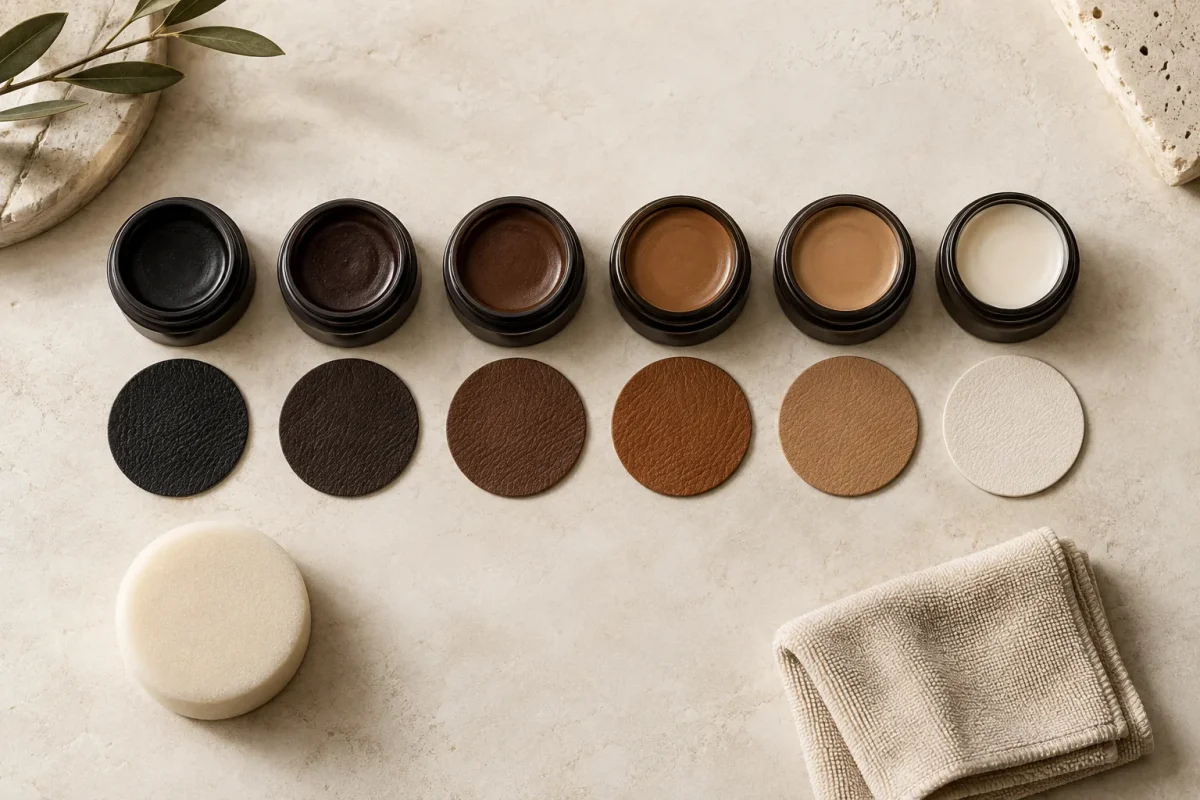
For a single-color touch-up, choose one close shade. For a closer match on a faded or unusual surface, the Complete and Master systems let you choose three different 50ml recoloring balms: your closest match, a darker shade and a lighter shade.
Test, then apply
Apply a small sample away from view. If the color is suitable, work across the worn area in thin, even passes with the applicator sponge. Keep the application controlled around seams and edges.
Finish with care
Use Leather Conditioner only as directed in the supplied instructions. Allow the product process to complete before returning the item to normal use.

Match the finish as well as the shade
Recoloring is not only a color decision. The original material may have a smooth, slightly textured, matte or softly reflective finish. A new color can look different if the surface is still oily, if old polish is sitting in the grain, or if one area has been polished more often than another. Cleaning and drying are therefore part of color matching, not a separate chore.
Compare the sample in more than one light source and from the normal viewing distance. A shade that looks right under a warm lamp can read cooler near a window. If the item has separate panels, test each panel when its wear level is noticeably different. This is especially important on furniture cushions and automotive bolsters.
Apply for control, not speed
Load the sponge lightly, work in one direction across a small zone and leave the edges soft. Give the first pass time to settle before deciding that more pigment is needed. Heavy application can hide texture, collect around stitching and make later correction harder. A small detail brush is useful around piping and corners, while the sponge keeps broad areas even.
Keep a simple color record
Write down the selected color names and the order in which you used them. If you later need to refresh one arm or cushion, that note is more useful than relying on a photograph or a screen swatch. The Color Guide explains the six VELGLOSS starting colors, but the material in front of you remains the final reference.
Before you begin
Make a short plan before opening the color bottle. Note the material, the panels that need work, the closest starting shade and the place where you will test. Cover nearby fabric, trim and hardware, and keep a separate cloth for wiping tools. This prevents a broad color project from becoming a series of accidental transfers.
Recoloring is easier to control when the surface is treated as a sequence of small decisions. Clean, dry, test, apply a light pass, inspect and repeat only when needed. If a panel looks uneven, stop and diagnose the cause before adding more product. More color is not always the right correction.
A practical stopping point
Pause after each stage and inspect the surface before adding another layer. If the color is even, the texture remains visible and the transition is comfortable at normal viewing distance, the work may be ready for the next care step. If the surface looks heavy, patchy or structurally compromised, stop and reassess instead of trying to hide the problem with more product. Careful restoration is a sequence of small decisions, not a race to cover every mark.
Frequently asked questions
Can I recolor any leather?
No. Material, finish and damage level matter. When the surface is peeling or structurally compromised, seek a qualified repair assessment.
How do I choose a shade?
Start with the VELGLOSS Color Guide and test in a hidden area; screen colors are not guaranteed material matches.
Next step
See How It Works for the full sequence and explore the three VELGLOSS systems.