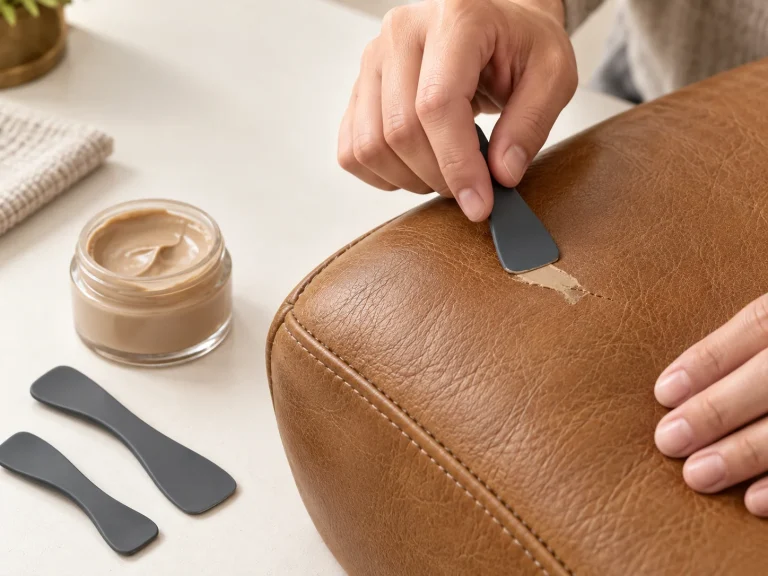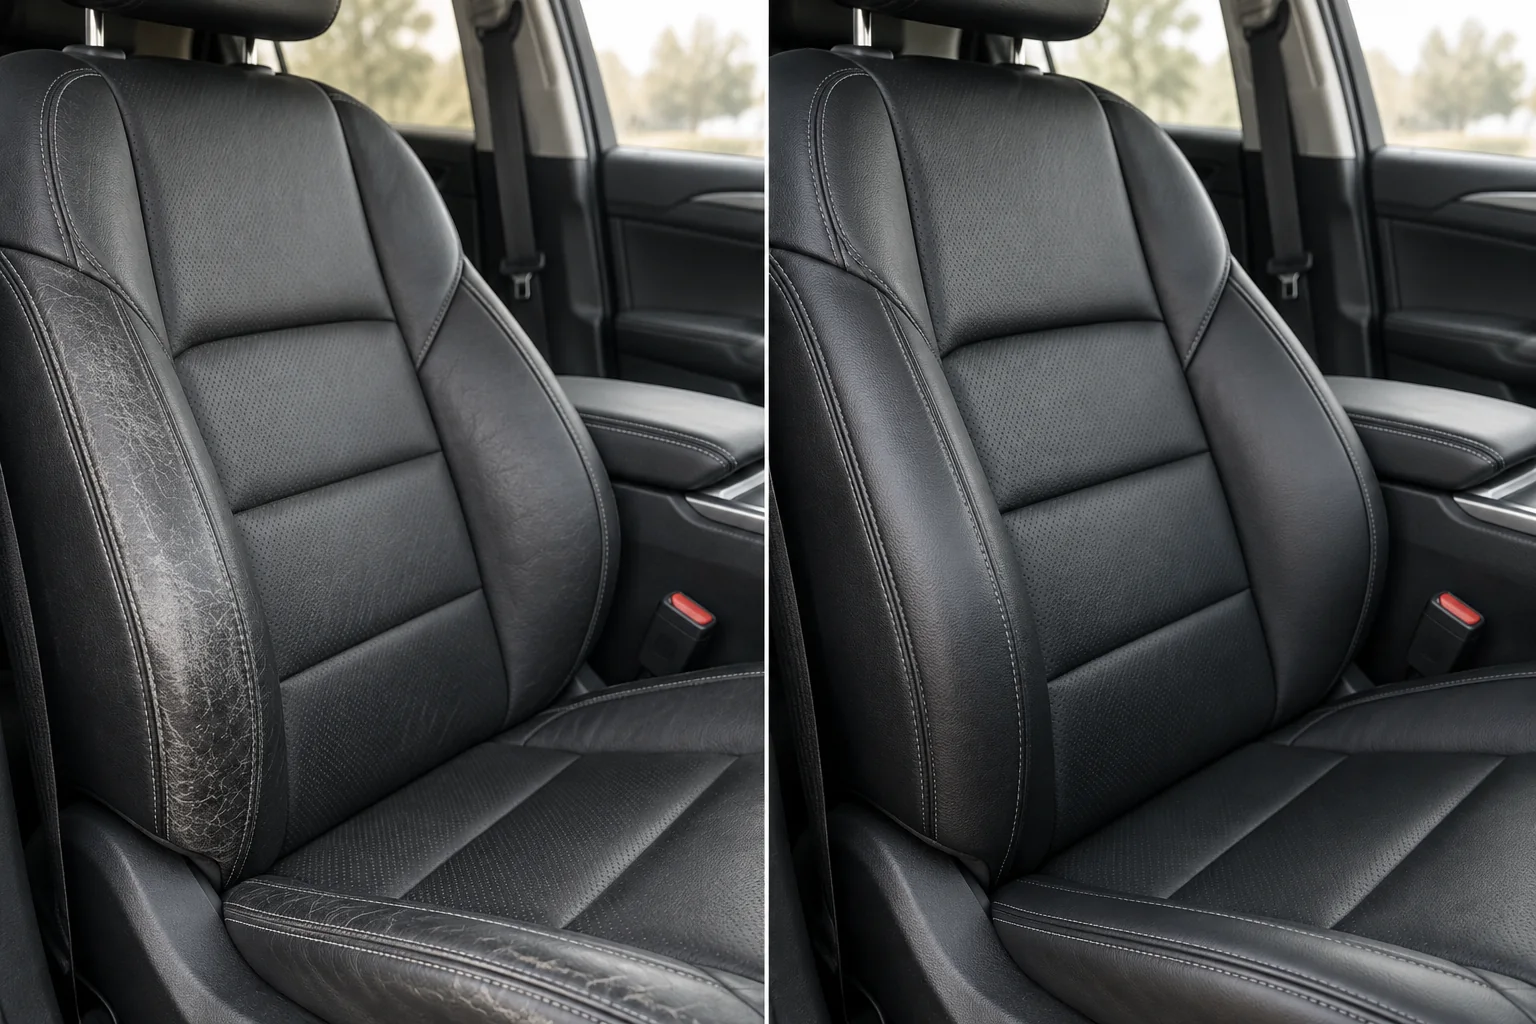
Worn leather car seats can often be refreshed when the structure and seams remain sound. Concentrate on the driver bolster and other high-contact areas, but test the selected color in a hidden spot before working across the seat.
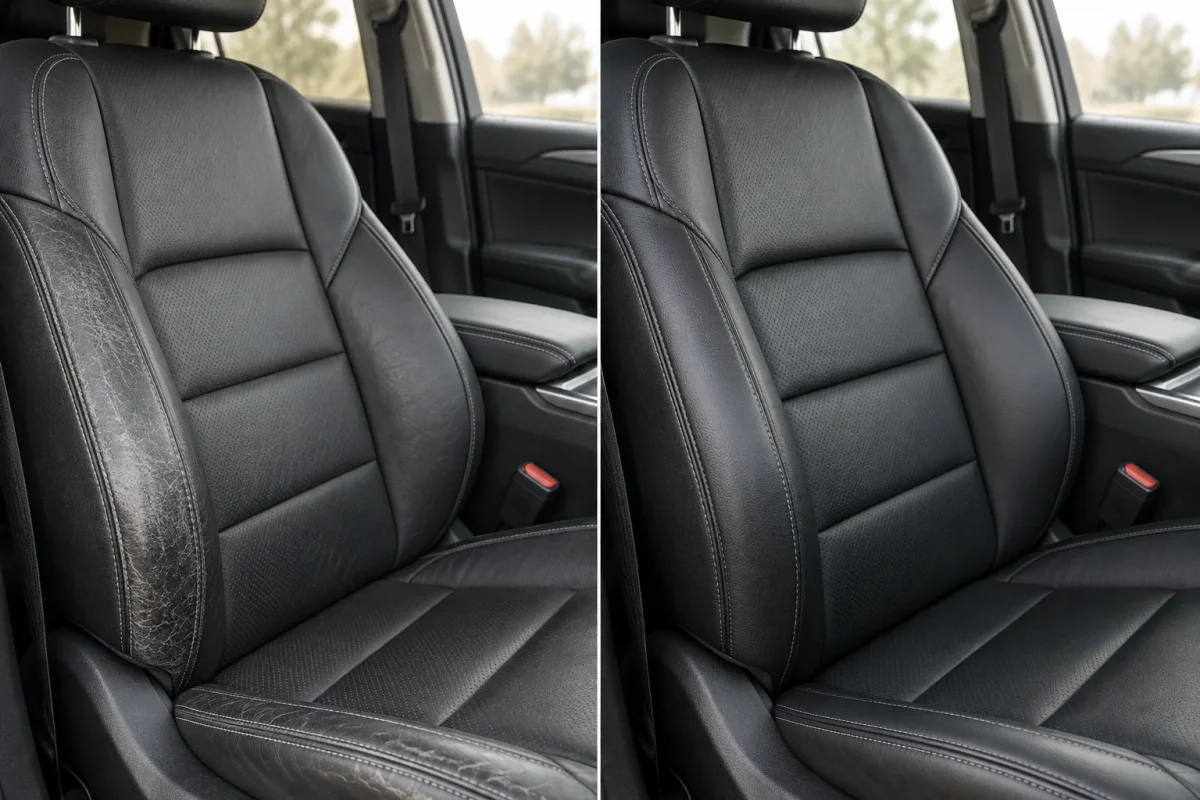
Inspect the seat first
Look for color loss, light scuffs and dry high-contact wear. Large tears, holes, failed seams and severe peeling are not ordinary surface restoration problems and should be assessed professionally.
Clean without rushing
Remove surface dirt with the supplied cleaner and brush. Work in manageable sections so residue and existing finish are easier to evaluate before color is added.
Repair only when appropriate
Repair is optional. The Master system is intended for small surface imperfections when compatible; it is not a structural repair solution for a torn seat or compromised seam.
Restore the worn area
Choose the closest starting shade, test it away from view and apply controlled layers with the sponge. Pay attention to transitions around the bolster rather than stopping at a hard color edge.
Care for the finish
Follow the supplied instructions for Leather Conditioner and allow the surface to settle before heavy use. Keep the process honest: a surface refresh is different from rebuilding damaged upholstery.
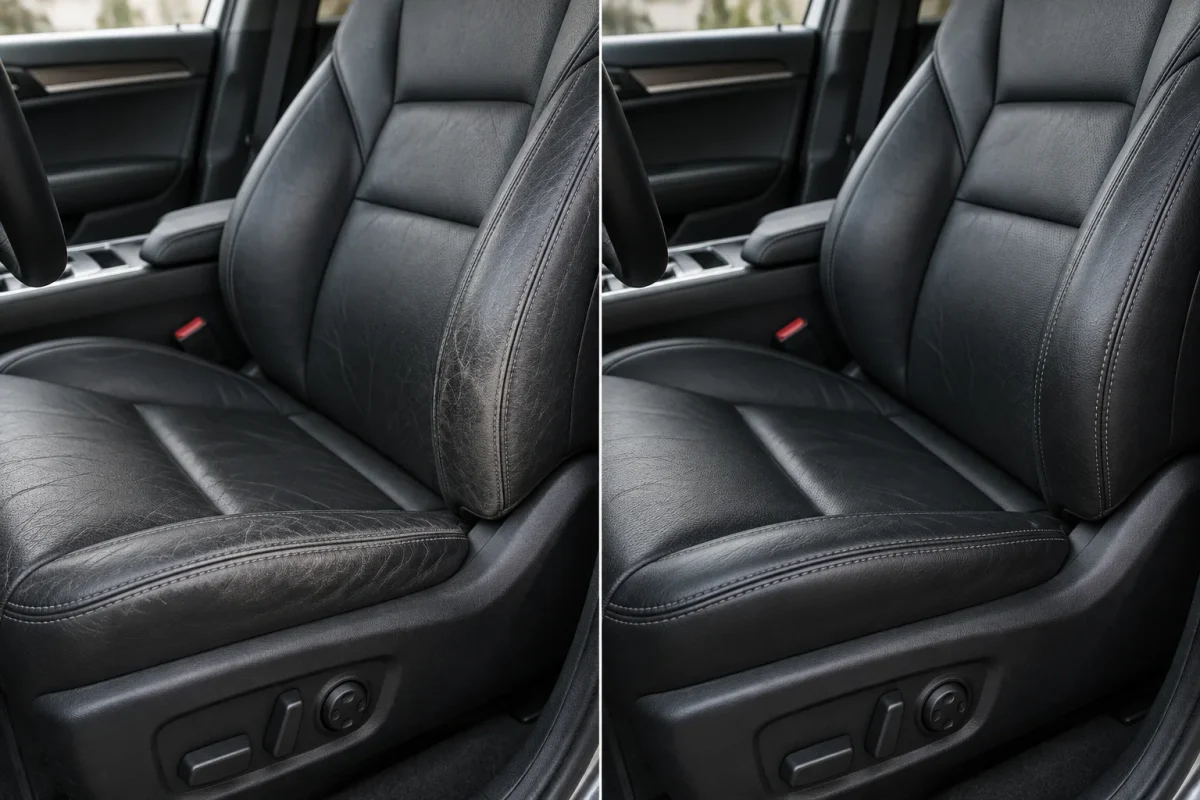

Start with the driver bolster
The outer bolster is usually the first place to show transfer wear because people slide across it every time they enter or leave the vehicle. Look at the outer edge, the front of the cushion and the lower seatback before deciding what the whole interior needs. A focused restoration can be more natural than applying color everywhere when only one zone has changed.
Protect the areas that should not receive product. Mask or work carefully around perforations, stitching, seat controls and hard trim. Keep the work area clean and organized so a sponge, brush or cloth does not carry dark residue into a lighter panel.
Evaluate the result in the car
Car interiors are viewed under changing conditions: garage light, daylight, shade and cabin lighting. Inspect the test patch in more than one of those conditions before committing. Let the surface settle according to the supplied guidance and avoid judging the final appearance while it is still wet or freshly handled.
Know when a color workflow is not enough
Surface color loss and light scuffs may be suitable for a careful DIY process. Large tears, holes, failed seams and severe peeling are different problems. A restoration system can refresh a sound surface, but it should not be presented as a substitute for upholstery or structural repair.
Before you begin
Move the vehicle into a shaded, ventilated place and keep the door open while you work. Photograph the seat and note which areas receive the most contact. Protect controls, trim and nearby fabric, and keep the sponge, brush and cloth within reach. A tidy setup matters because car interiors contain seams, perforations and narrow edges that are hard to correct after the fact.
Work in a single bolster or panel first. Compare it with the seat next to it from the normal sitting position, not only from a close-up. If the visual improvement is subtle but even, continue with the same measured process. If the transition looks obvious, pause and reassess the color or coverage.
A practical stopping point
Pause after each stage and inspect the surface before adding another layer. If the color is even, the texture remains visible and the transition is comfortable at normal viewing distance, the work may be ready for the next care step. If the surface looks heavy, patchy or structurally compromised, stop and reassess instead of trying to hide the problem with more product. Careful restoration is a sequence of small decisions, not a race to cover every mark.
Frequently asked questions
Can this fix a torn seat?
No. Tears, holes and failed seams need a qualified upholstery or leather-repair assessment.
What color should I use?
Compare the six VELGLOSS starting colors in the Color Guide, then test the chosen shade in a concealed area.
Next step
Use the Automotive Restoration page for a seat-specific checklist or review the four-step workflow.