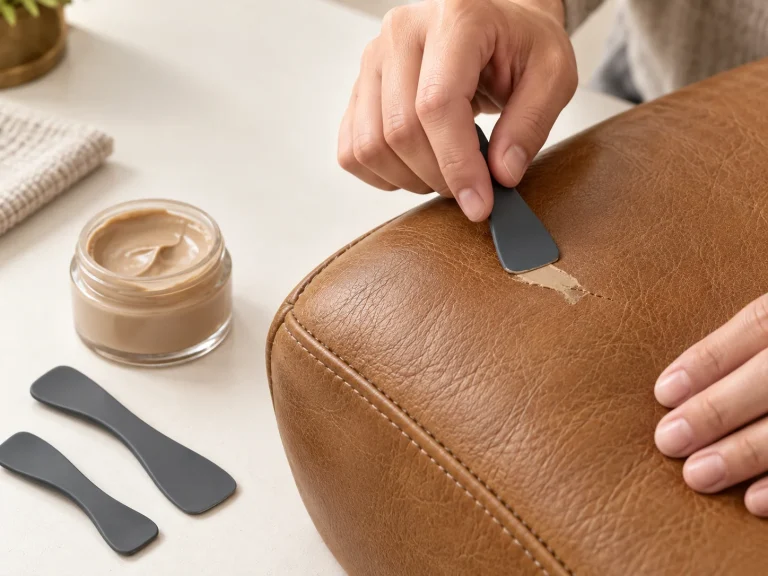
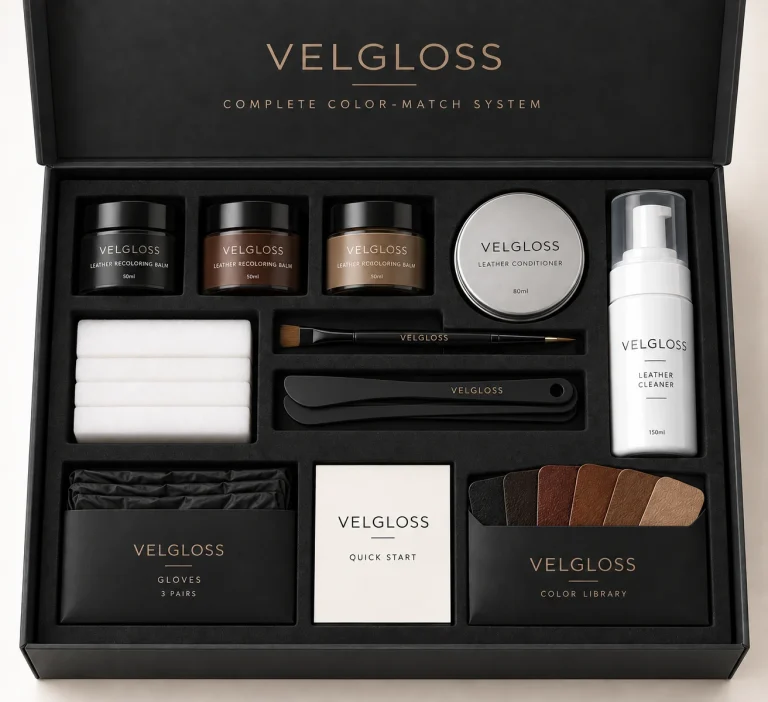
Leather shoes and boots can often be refreshed when the leather and stitching remain structurally sound. Clean first, test the color on a hidden area and work in thin layers around panels, seams and edges.
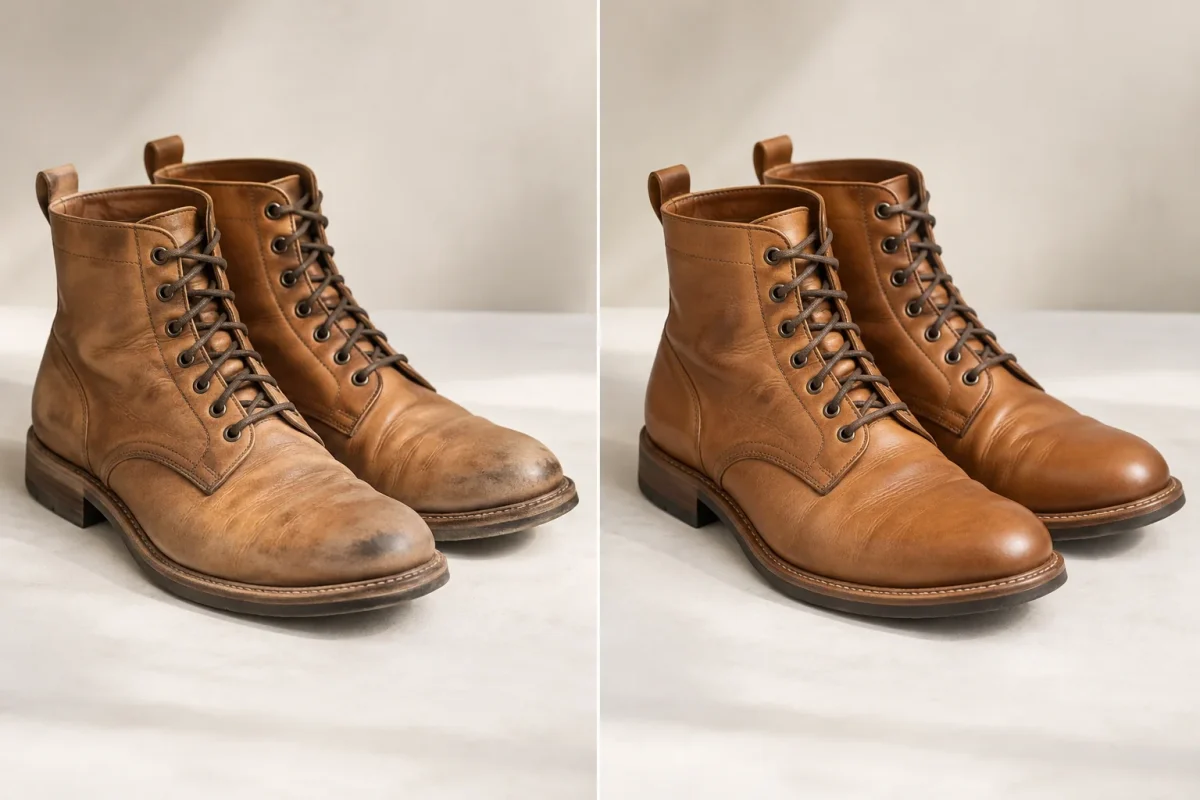
Inspect the footwear
Look for fading, scuffs and surface dryness. Large tears, holes, failed seams, severe peeling, suede and nubuck are outside this smooth-leather workflow.
Clean and prepare
Remove surface residue with the supplied cleaner and brush. Pay attention to toe caps, counters and high-contact areas where old polish or dirt can change the apparent color.
Test the shade
Use the Color Guide to select a starting color, then test inside the shoe or another hidden area. Lighting and the original finish can make the same shade look different.
Restore in thin layers
Use a small applicator sponge or detail brush and work around edges carefully. Let each layer settle according to the supplied instructions before deciding whether another pass is needed.
Care after the color step
Use Leather Conditioner as directed and avoid treating the item as fully restored until the supplied process is complete.
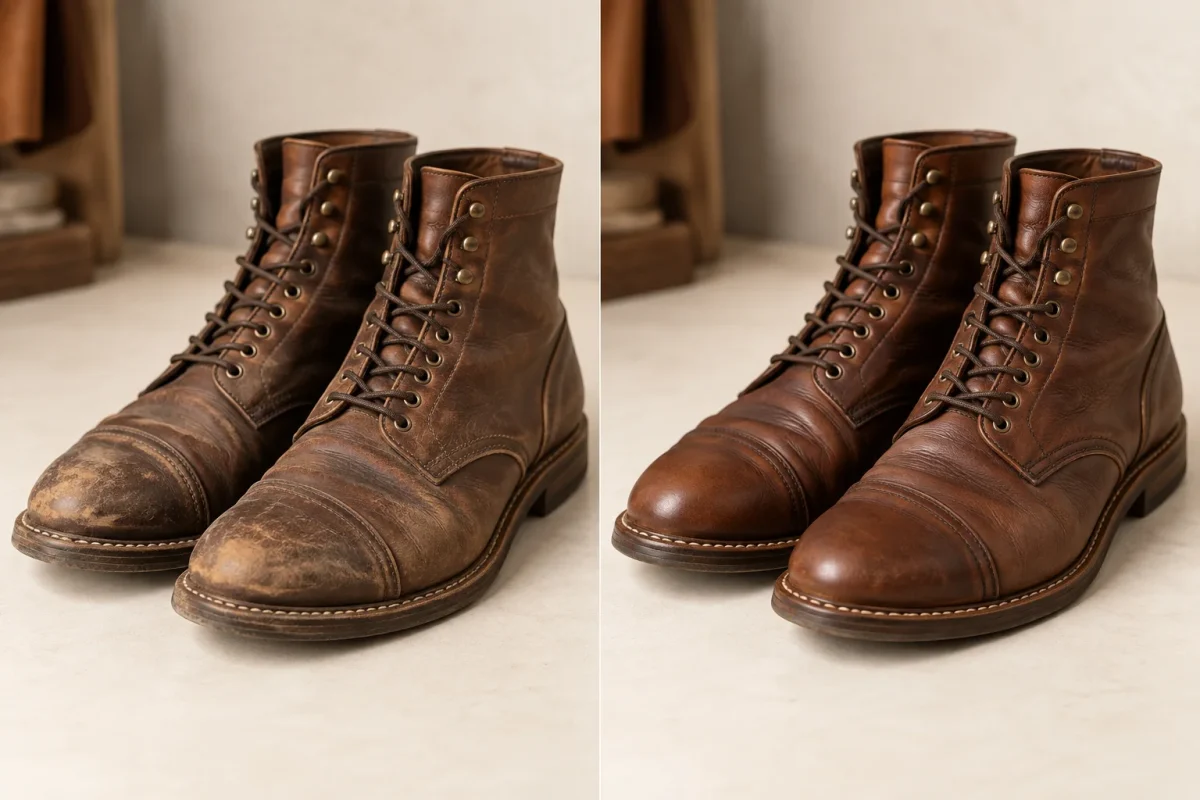
Prepare the shape before you prepare the color
Remove laces and loose dirt, then use a shoe tree or clean support if one is available. A stable shape makes it easier to see the toe, vamp, quarter and heel panels without accidentally flexing a fresh application. Treat each shoe as its own surface: the pair may have different scuffs, sun exposure and old polish.
Respect edges, seams and hardware
Use the detail brush around welts, piping and narrow seams, and keep the sponge for broader panels. Work around eyelets, zippers and rubber edges rather than covering them and cleaning up later. Thin layers are especially important on footwear because bending and friction make heavy product more noticeable.
Let the pair rest before wear
Follow the supplied care guidance and let the shoes settle before walking outside or applying another polish. Compare both shoes together under the lighting where they will normally be worn. If the color is close but not exact, a softened transition usually looks more natural than trying to repaint every panel to a single uniform tone.
Choose the right boundary
Smooth leather with fading or light scuffs can fit this workflow. Suede, nubuck, severe peeling, holes, failed seams and major structural damage need another method or a qualified assessment.
Before you begin
Work on one shoe at a time and remove anything that can catch product, such as laces, loose inserts or surface dirt. Place the shoe on a stable support so you can see the whole panel without flexing it. Keep a separate cloth for the sole and hardware areas.
Plan the order of the panels before you start. Broad areas can be handled with the sponge; narrow edges and stitching need the detail brush. Check both shoes together after each stage so the pair develops the same visual weight rather than two slightly different finishes.
A practical stopping point
Pause after each stage and inspect the surface before adding another layer. If the color is even, the texture remains visible and the transition is comfortable at normal viewing distance, the work may be ready for the next care step. If the surface looks heavy, patchy or structurally compromised, stop and reassess instead of trying to hide the problem with more product. Careful restoration is a sequence of small decisions, not a race to cover every mark.
Frequently asked questions
Can this restore suede?
No. Suede and nubuck have different surface structures and should not be treated as smooth leather.
Can I use one color for a pair?
Start with the closest match, but test both shoes because age and wear can differ between them.
Next step
See the Shoes & Boots page and four-step workflow before ordering.