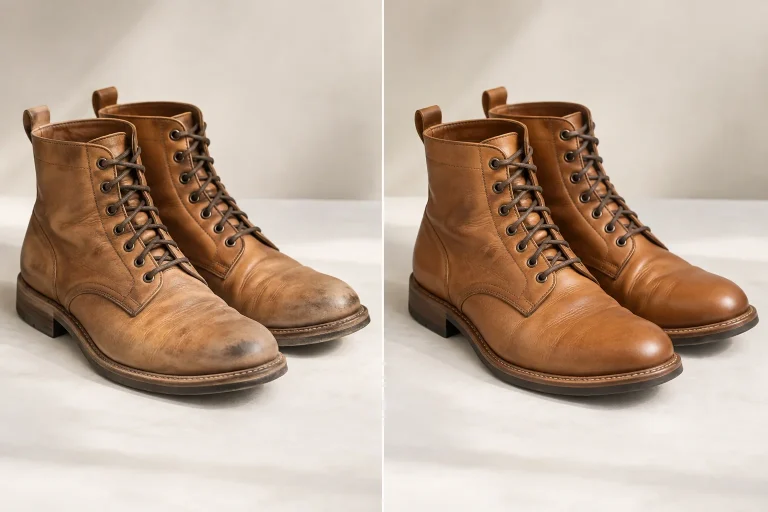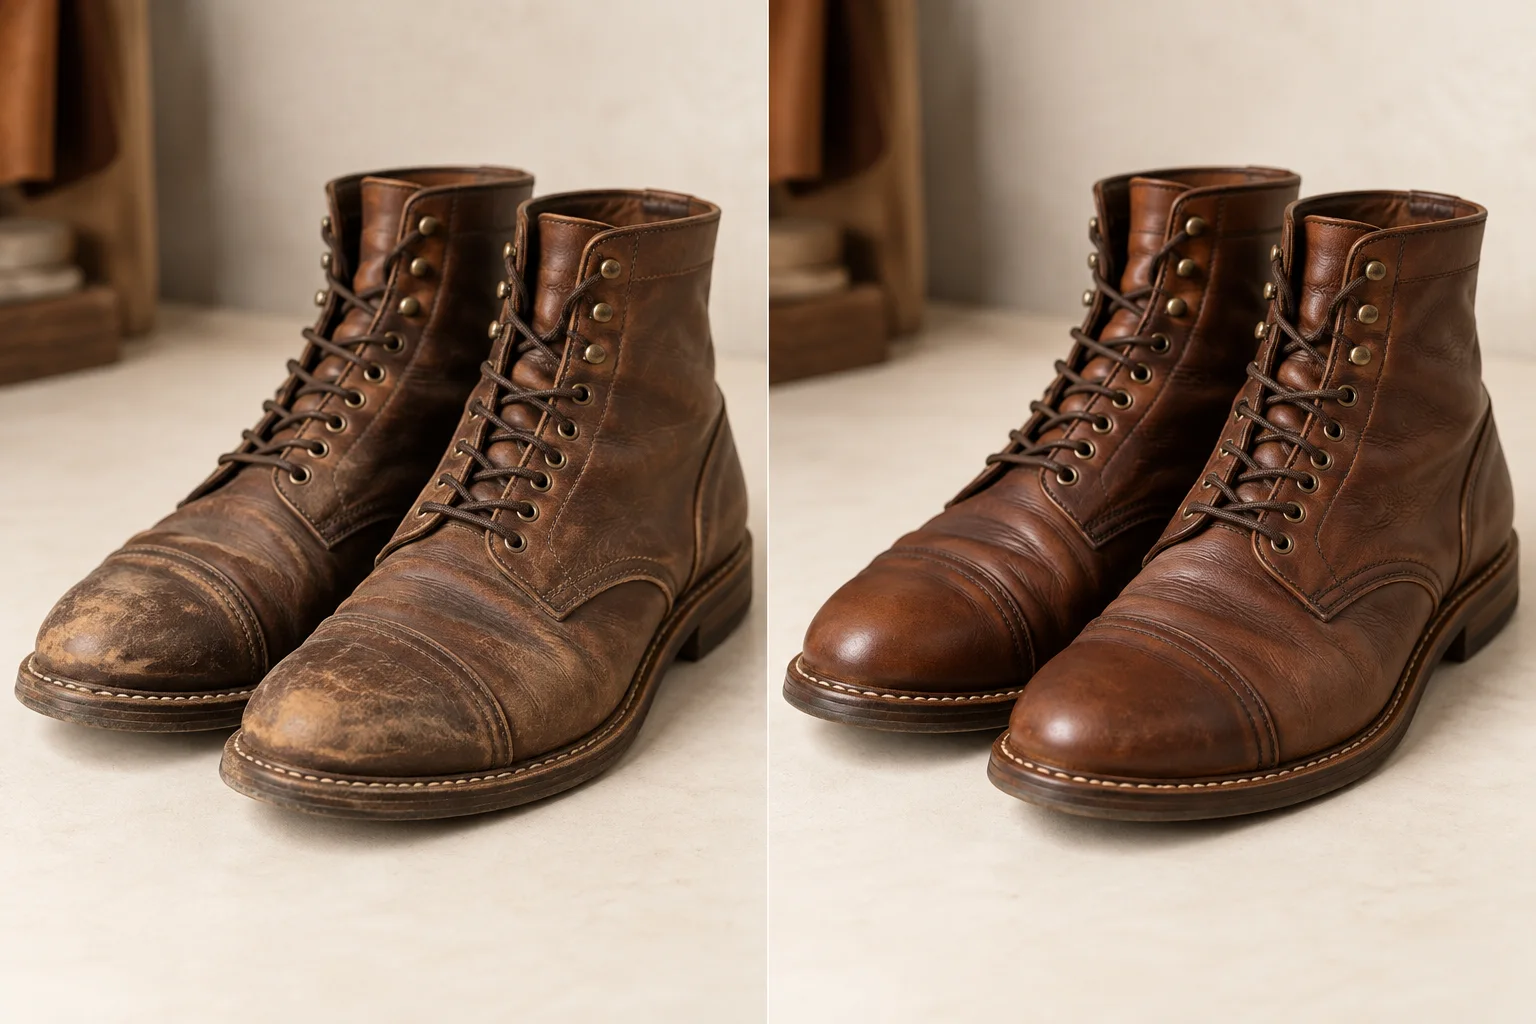
Light scuffs on smooth leather shoes can often be touched up when the underlying surface is intact. Remove residue, test a close color in a hidden area and blend the touch-up gradually.
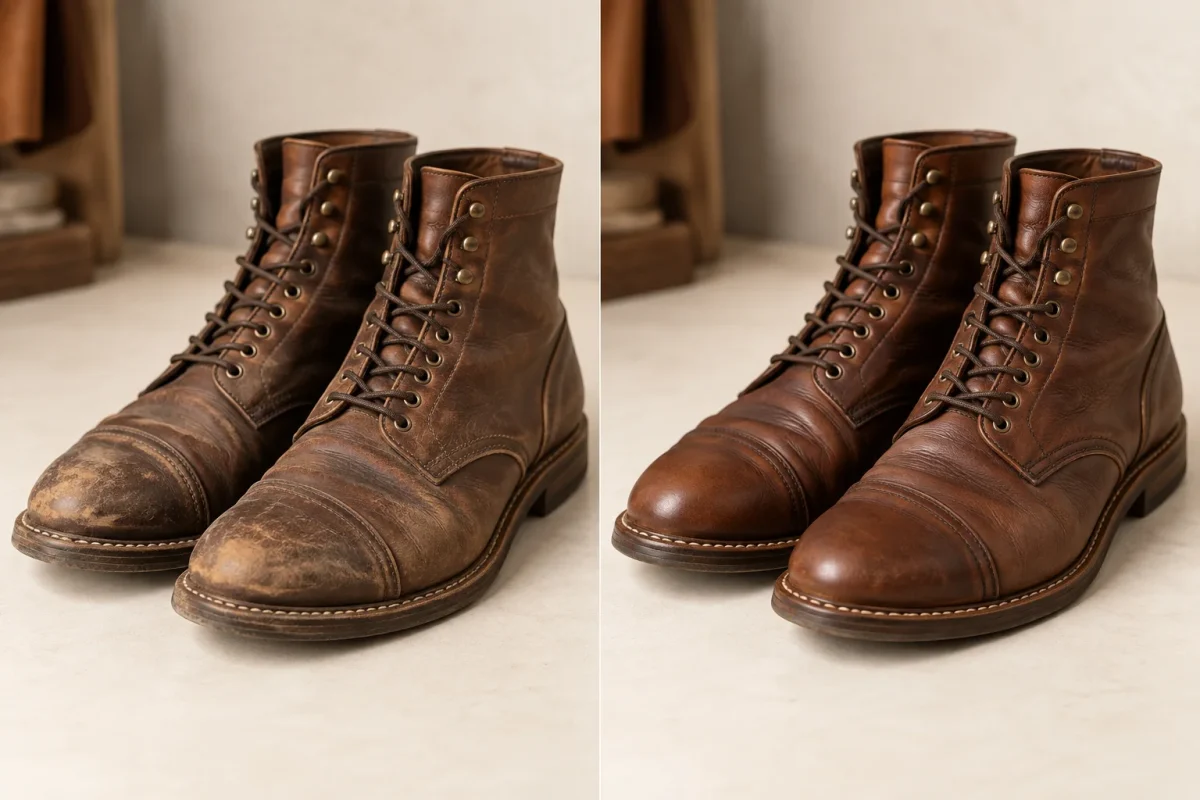
Decide whether the scuff is surface wear
A light mark or small area of color loss is different from a tear, hole, failed seam or severe peeling. Suede and nubuck also need a different care method.
Clean before touching up
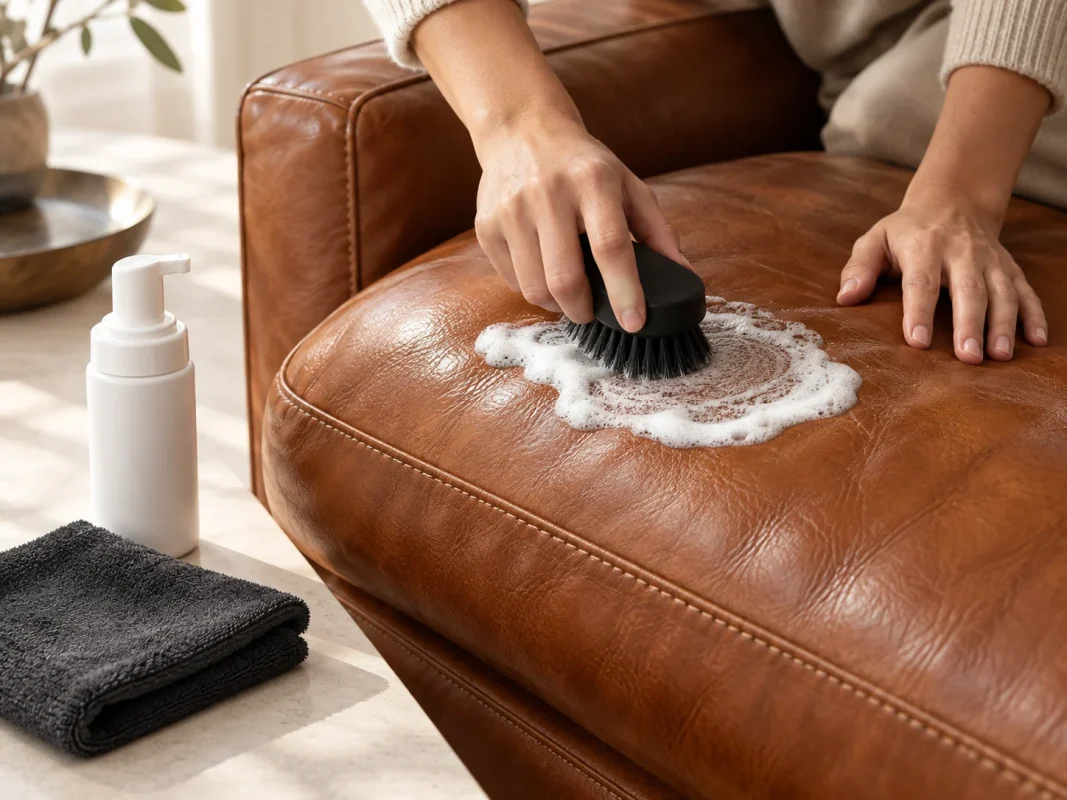
Use the supplied cleaner and a soft brush to remove dirt and old residue. Let the area dry so you do not mistake dampness or polish for the final color.
Match and test
Choose the closest shade in the Color Guide, then test inside the shoe or another concealed area. The goal is a controlled blend, not an instant perfect match from a screen color.
Blend the repair
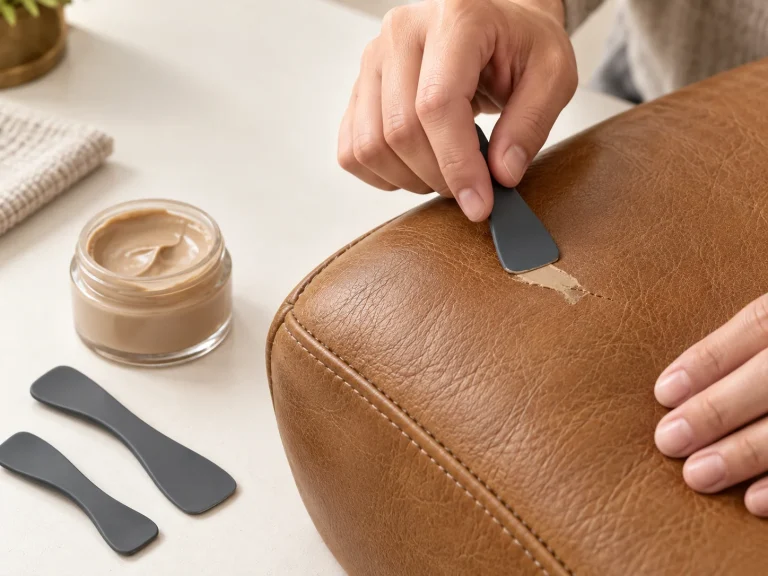
Apply a small amount with the detail brush or sponge. Feather the edges into the surrounding surface and build coverage only where the scuff needs it.
Care for the shoe
Follow the supplied instructions for Leather Conditioner. Do not use heavy polish or aggressive friction while the restored surface is completing its care process.

Inspect the mark from more than one angle
A scuff can be transferred dirt, a light loss of color or a break in the surface layer. Wipe a small area and let it dry before choosing a response. If the mark changes dramatically after cleaning, it may need preparation rather than heavy color. If the surface is split, peeling or missing, stop treating it as a simple touch-up.
Feather the edges, do not flood the center
Use the detail brush for the smallest part of the mark and a lightly loaded sponge to soften the surrounding transition. Work outward with less product so the eye does not see a new oval patch. Keep the shoe in the same position while you compare passes, and pause between layers.
Use care to protect the repair
Once the color process is complete, follow the supplied Leather Conditioner guidance. Avoid aggressive polish, hard brushing or immediate outdoor wear while the surface is still settling. A short rest now is easier than correcting a heavy or uneven application later.
When to hand the project off
Large tears, holes, failed seams, severe peeling and damaged structural layers need a qualified repair assessment. A careful DIY workflow is valuable precisely because it has a clear stopping point.
Before you begin
Photograph the scuff in daylight, clean a small portion and compare it after it dries. This simple pause often shows whether the mark is dirt, lost color or a broken surface. Choose the smallest tool that can reach the mark and protect the surrounding sole, stitching and trim.
Use a test patch inside the shoe or under a tongue before touching the toe or vamp. If the patch is close, apply only enough color to reduce the contrast of the scuff. A restrained touch-up usually looks more natural than trying to make an old shoe look uniformly new.
A practical stopping point
Pause after each stage and inspect the surface before adding another layer. If the color is even, the texture remains visible and the transition is comfortable at normal viewing distance, the work may be ready for the next care step. If the surface looks heavy, patchy or structurally compromised, stop and reassess instead of trying to hide the problem with more product. Careful restoration is a sequence of small decisions, not a race to cover every mark.
Frequently asked questions
Should I sand a small scuff?
Do not sand unless the supplied instructions for a compatible repair product specifically call for it. Unnecessary abrasion can make a small scuff worse.
What if the leather is peeling?
Stop and seek a qualified repair assessment; a touch-up balm is not designed to rebuild failed surface layers.
Next step
Read How It Works and explore the Leather Shoe Restoration page.