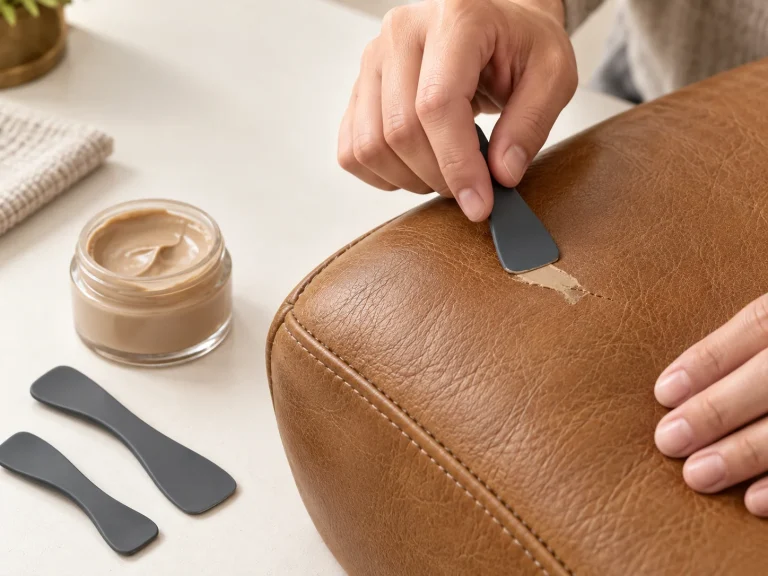
Faded leather is often a surface-wear problem, not a reason to replace the whole item. Inspect the material first, clean it gently and test a small hidden area before choosing a recoloring balm.

Separate fading from damage
Color loss, dry touch, light scuffs and worn high-contact areas may be suitable for a careful DIY workflow. Severe peeling, large tears, large holes, failed seams, suede and nubuck need a different assessment.
Prepare before recoloring
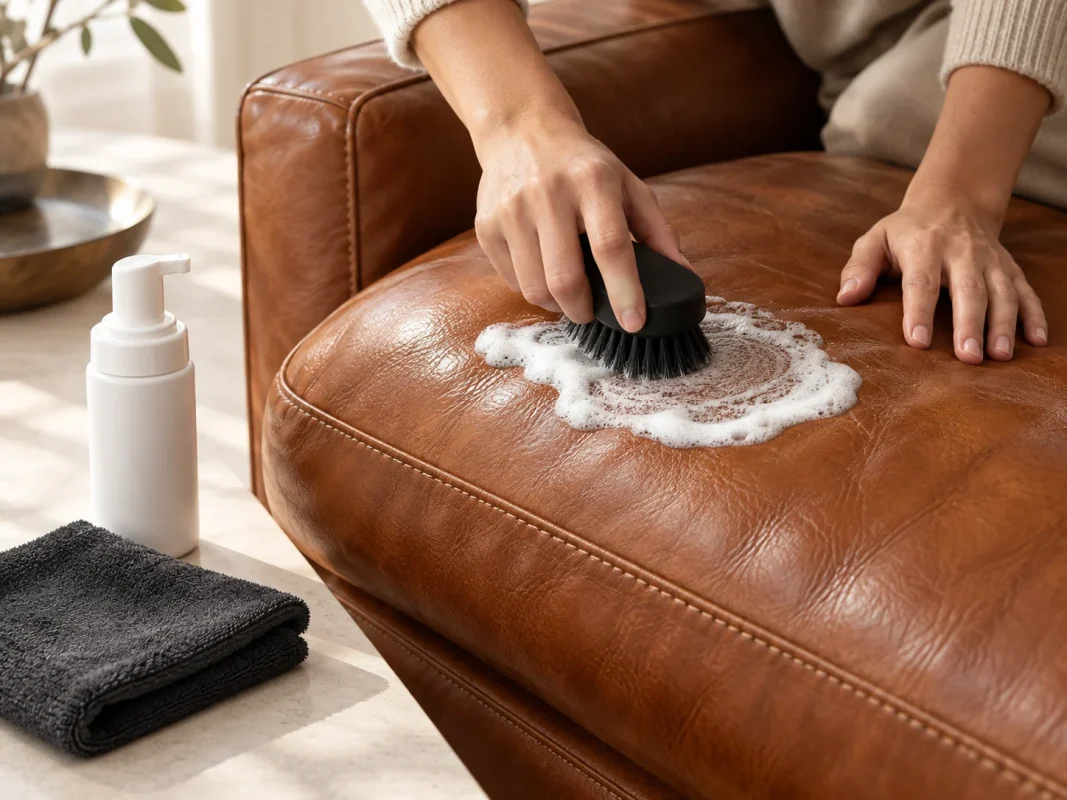
Clean the surface with the supplied cleaner and let it dry. A clean surface makes it easier to see whether the original finish is intact and where color has actually changed.
Choose and test the color
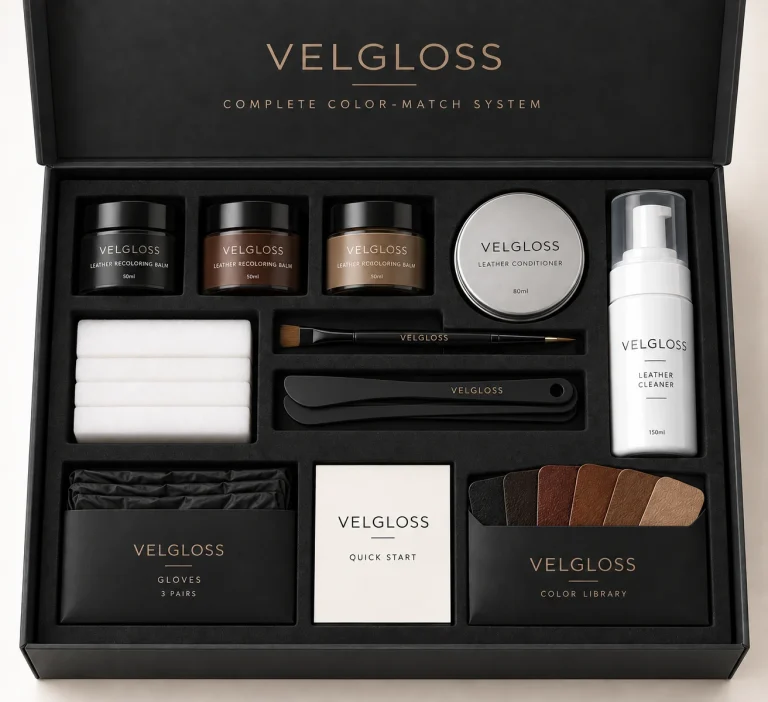
Use the Color Guide to compare Black, Dark Brown, Brown, Light Brown, Tan and White. Always test the selected color on a hidden area because lighting, age and finish change how a shade appears.
Apply gradually
Use an applicator sponge and thin, even layers. Pause to inspect the surface between layers; a slower application gives you more control over color and coverage.
Care for the restored surface
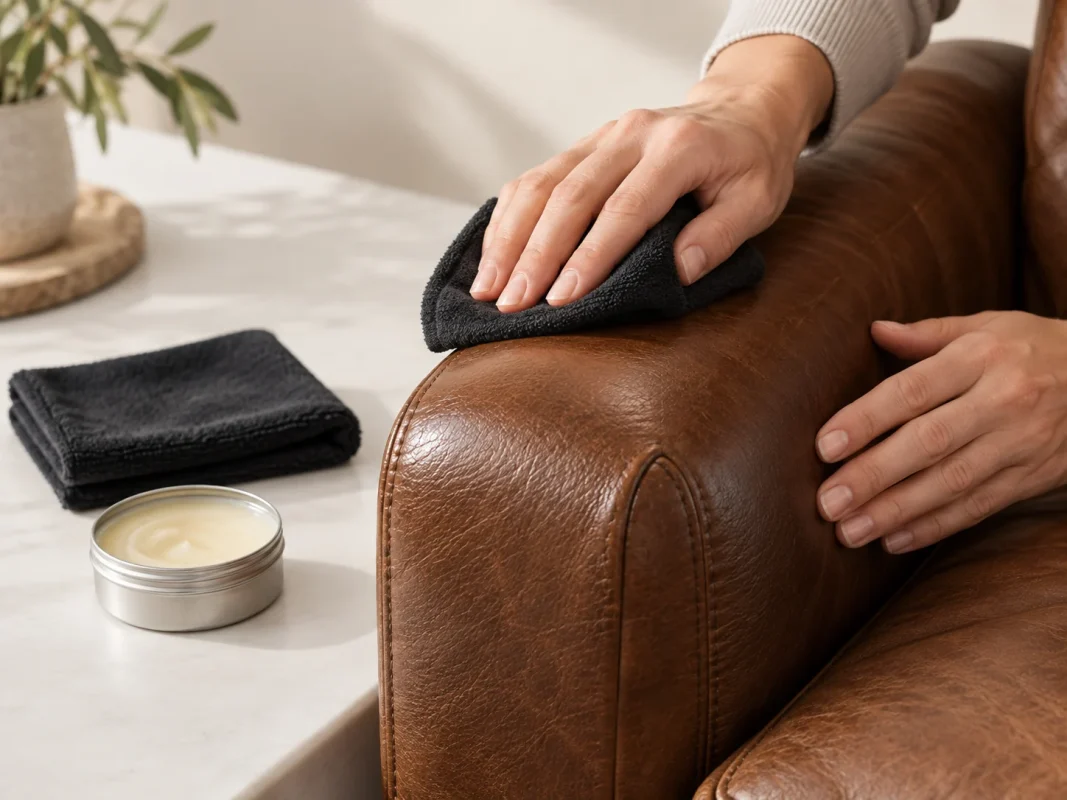
Complete the confirmed workflow with Leather Conditioner and follow the product instructions. The goal is a considered surface refresh, not a promise that every mark will disappear.
Why fading rarely looks even
Leather is exposed to hands, sunlight, clothing dye, dust and cleaning products in different amounts. That is why a single cushion can show a lighter center, darker piping and a dry-looking arm at the same time. Before you reach for color, map those differences. Wipe a small test area, let it dry and look at it again in daylight. Sometimes residue is making the surface look dull; sometimes the pigment really has worn away.
Fading is usually a gradual problem, so gradual application is easier to control. Treat one section at a time, keep your sponge strokes consistent and avoid building a hard border at a seam. If the surrounding finish is still sound, feathering the edge helps the refreshed area sit naturally beside the original surface.
Choose the simplest system that fits
For a small, known-color touch-up, the Basic system keeps the decision simple. When the surface varies or the original shade is difficult to describe, the Complete and Master systems let you select three different 50ml recoloring balms: a closest match, a darker shade and a lighter shade. That is a color-control option, not a promise of an automatic match. Your hidden-area test remains the decision point.
Set expectations before the first visible panel
A successful refresh should look more even, feel cared for and reduce the visual contrast of worn areas. It should not be described as structural repair when the leather is peeling, torn or separating. If you can see a failed seam, a large hole or bonded material breaking down, pause the DIY color workflow and seek an appropriate repair assessment.
Before you begin
Take a few minutes to describe the problem in plain language: is the surface lighter, drier, dirtier or actually peeling? That description helps you choose the next step instead of applying color to every visible change. Wipe a small section, let it dry and compare it with an untouched section under the same light.
Keep your first test small enough to remove from view if the shade is not right. The best test is one you can evaluate calmly after the surface settles. Once the color and process look appropriate, repeat the same light pressure, layer thickness and drying rhythm across the rest of the item.
A practical stopping point
Pause after each stage and inspect the surface before adding another layer. If the color is even, the texture remains visible and the transition is comfortable at normal viewing distance, the work may be ready for the next care step. If the surface looks heavy, patchy or structurally compromised, stop and reassess instead of trying to hide the problem with more product. Careful restoration is a sequence of small decisions, not a race to cover every mark.
Frequently asked questions
Can faded leather always be restored?
No. Surface fading may be suitable, but severe peeling, tears, holes or failed seams are outside a normal color-restoration workflow.
Should I use one color or three?
A focused touch-up may use one color. The Complete and Master systems are designed around a three-color palette for closer matching.
Next step
Review the four-step method and choose the VELGLOSS system that matches the condition of the surface.