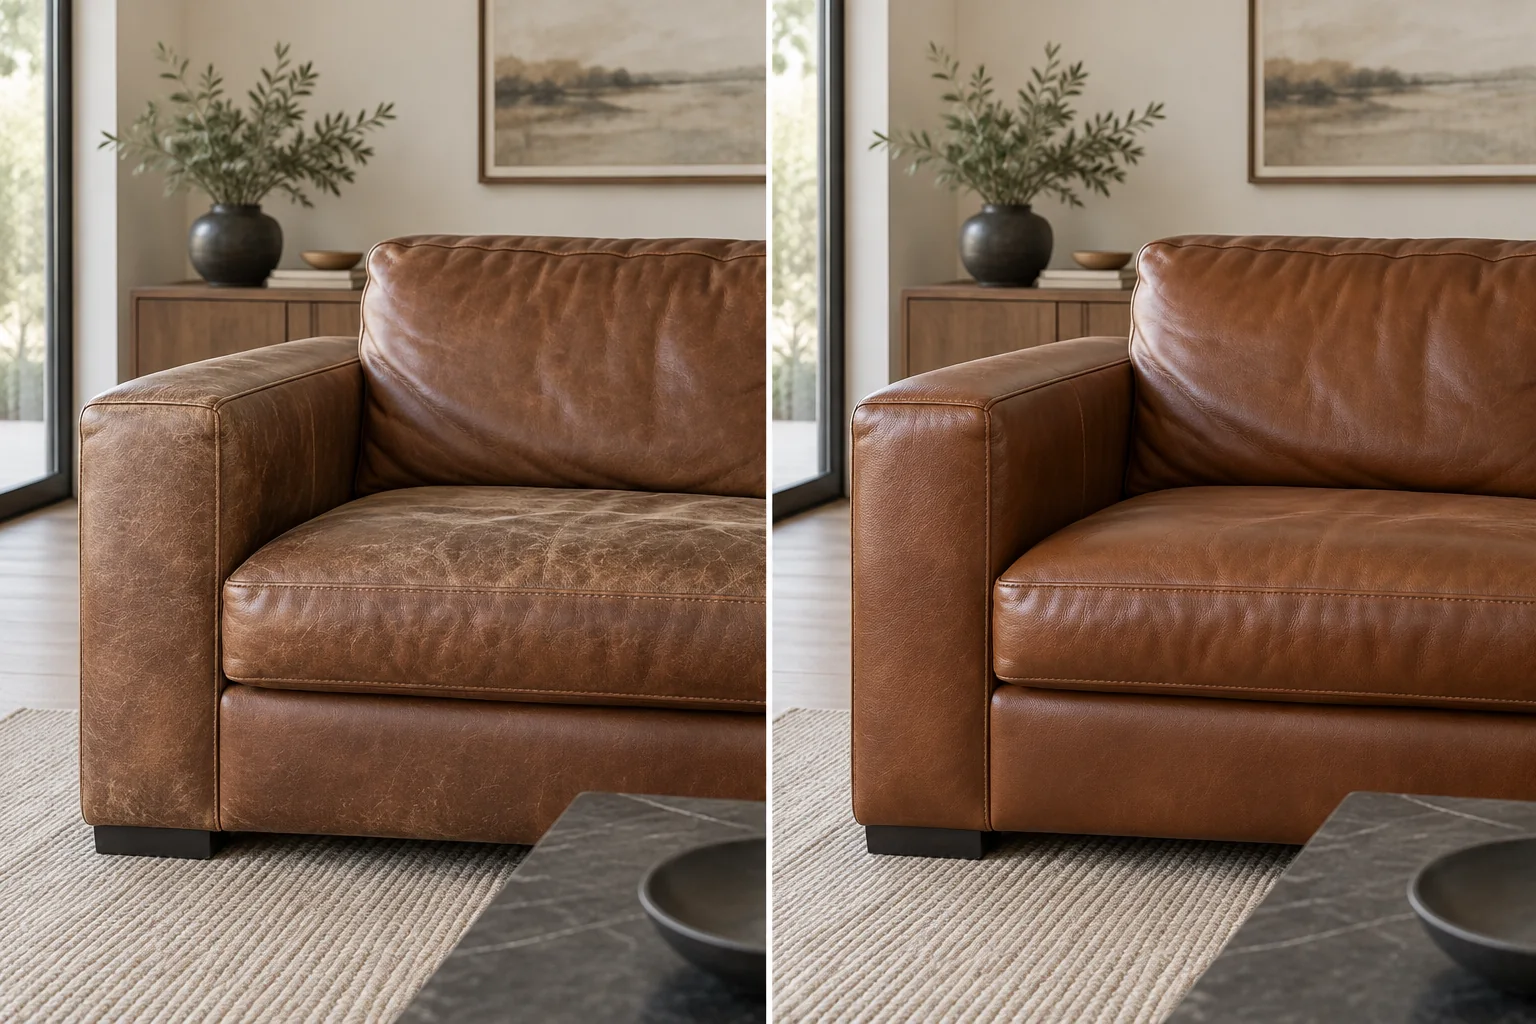
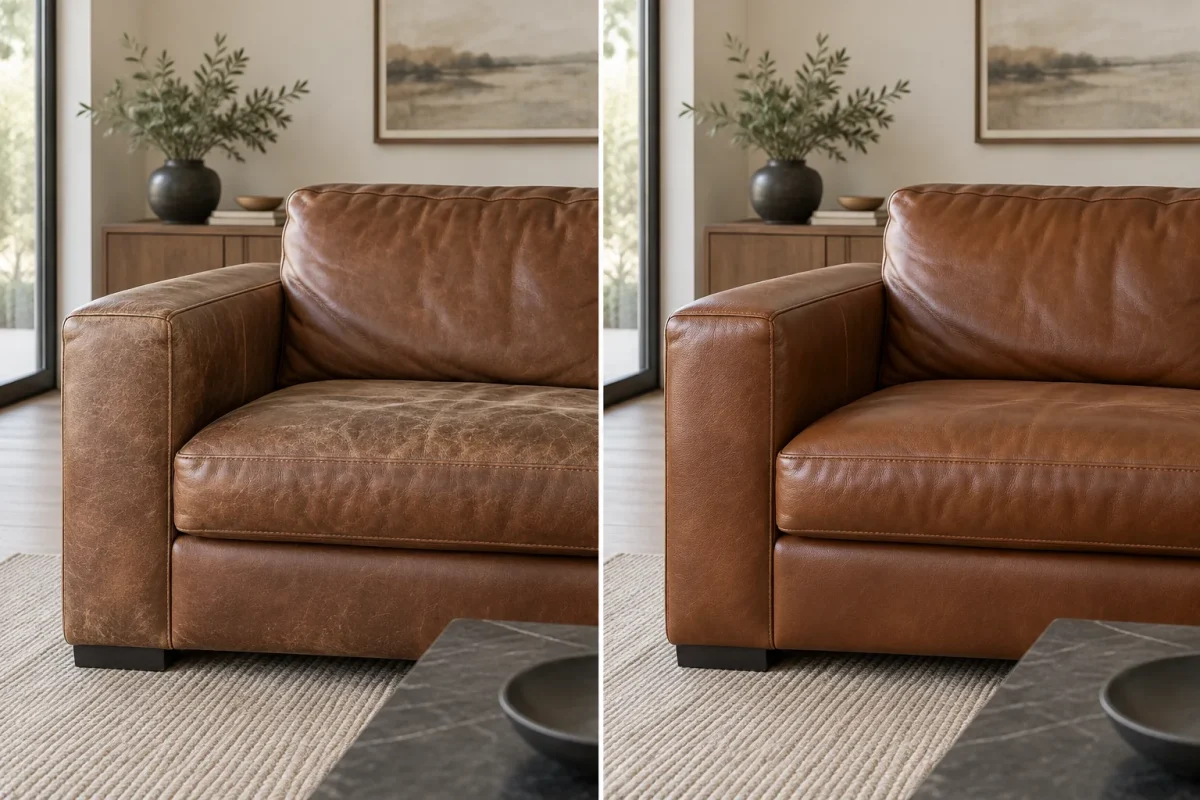
Yes, many faded leather couches can be refreshed when the structure is sound. Start by identifying the leather and the type of wear, then clean and test a small hidden area before applying color.
Reviewed by VELGLOSS Editorial on 2026-10-08. General decision guidance; use the instructions for your exact material and formula.
Which couch problem are you trying to solve?
- A dull but continuous surface: check the maker’s cleaning guidance and compare an approved hidden test after it dries.
- Lighter color with sound material: read about balm, dye and conditioner before choosing a product.
- Flakes, lifting edges or exposed backing: use the peeling-versus-fading guide and ask for a repair assessment.
- A hole, torn seam or damaged padding: this is not a color-only restoration project.
Work toward the surrounding color only after material compatibility and a small dried test look suitable. Coverage and curing instructions must come from the exact product; a generic tutorial cannot set a reliable number of coats or a drying time for every formula.
Check the couch before you begin
Look for fading, dry high-contact areas and light scuffs. Severe peeling, large tears, large holes and failed seams are structural problems rather than ordinary surface restoration. Do not use this workflow on suede or nubuck.
Clean the surface
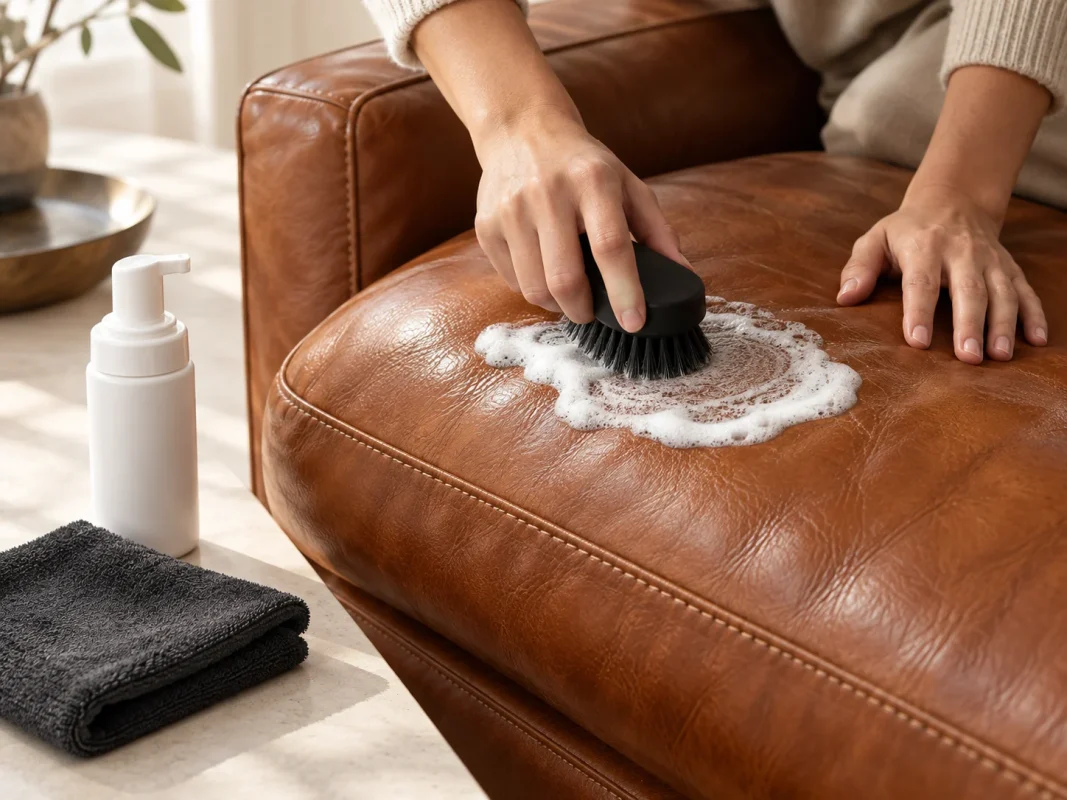
Remove everyday dirt and residue with the cleaner supplied for your system. Work gently with the brush, then allow the surface to dry according to the supplied instructions.
Repair only where needed
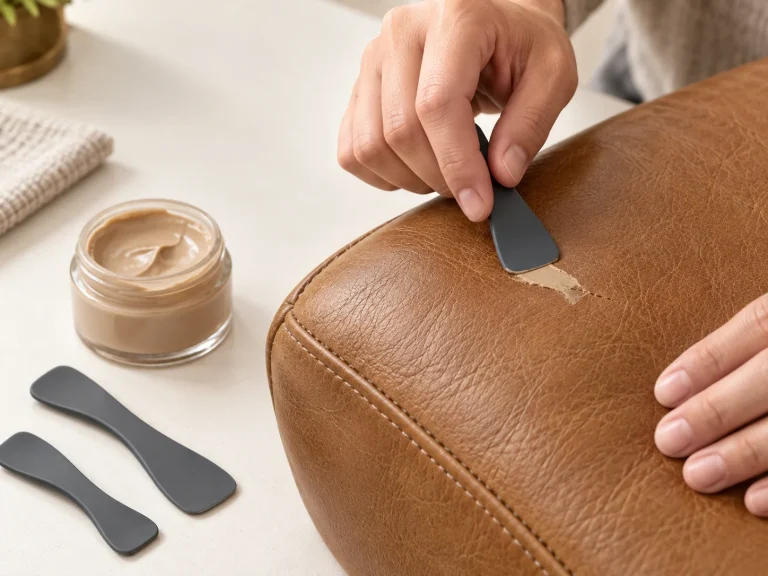
Repair is optional. If there are small surface imperfections, use the filler included in the Master system only when the product instructions say the material is compatible. Skip this step when the couch only needs color renewal.
Restore color in careful layers
Choose the closest starting color, test it in a hidden area and apply thin, even layers with the applicator sponge. Build coverage gradually instead of trying to hide every mark in one heavy coat.
Finish with care
After the color step, use the Leather Conditioner included in the confirmed system and follow the supplied instructions. Avoid heavy use until the surface has completed the stated care process.
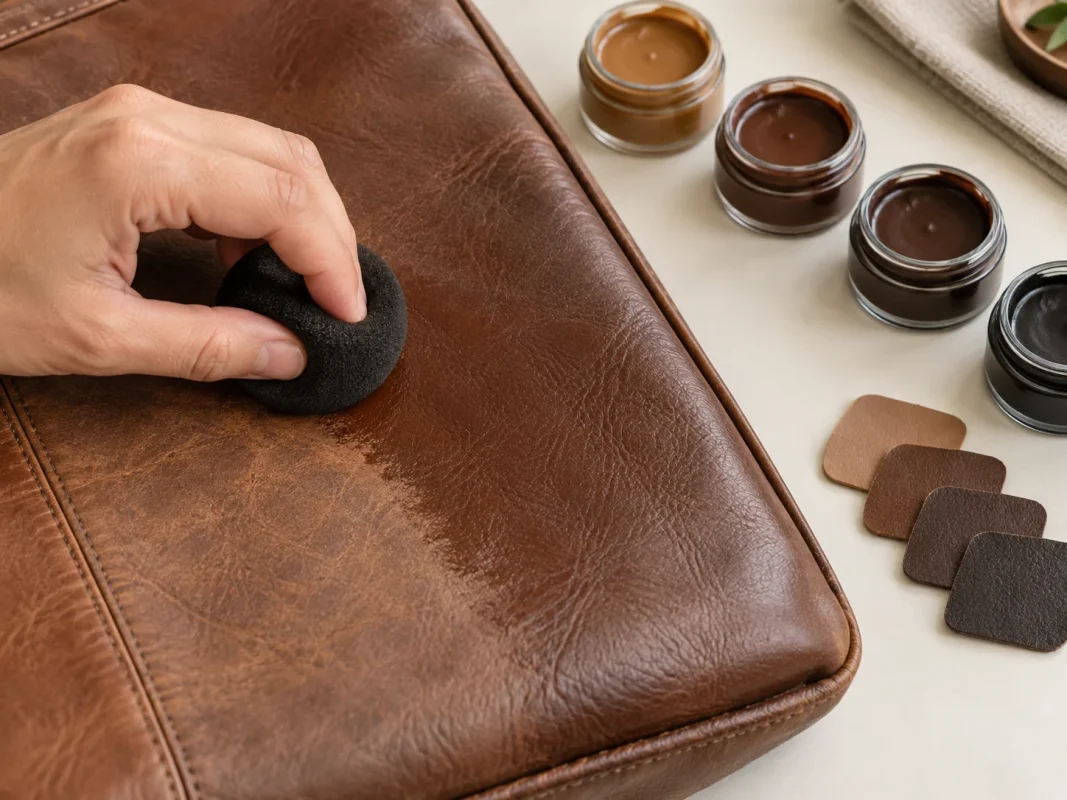
Read the surface, not just the color
A couch can look tired for different reasons: dirt or residue, body oil, dryness, or actual color loss. Before planning the whole couch, clean one small, out-of-sight spot according to the cleaner instructions, let it dry fully, and compare it with a nearby untouched section in indirect daylight. If the mark lifts, color may not be needed. If the area stays lighter and the finish is intact, test a small amount of color. If the finish is lifting, the backing is showing, or a seam is failing, stop; those problems need more than color restoration.
Use a bright, indirect light and inspect the areas people touch most: the front edge of the seat, the outer arm and the front of each cushion. Photographing the couch before you start can help you judge progress without relying on memory. It also keeps expectations realistic when a mark is deeper than a color change.
Work in small, repeatable zones
Do not begin with the largest visible panel. Start on a hidden section, then choose one cushion or one arm as your first working zone. Keep the sponge lightly loaded and spread the product beyond the exact center of the worn mark so the transition is soft. Thin passes let the original texture remain visible and make it easier to stop before the color becomes heavy or patchy.
Between passes, step back and view the area from the same distance where the couch is normally seen. A repair that looks perfect from two inches away may look too dark from across the room. For a large couch, a three-color palette can help you handle cushions that have aged differently, but it should still be tested as a small sample before the whole set is treated.
What a considered finish looks like
The goal is a more even, cared-for surface—not a claim that every crease or old mark disappears. Let the completed color process settle according to the supplied instructions, then use the included Leather Conditioner as directed. Keep the couch out of heavy use until the product guidance says it is ready, and keep a note of the colors used for future touch-ups.
Before you begin
Set aside a clean work area, a soft cloth and enough time to finish one zone without rushing. Remove loose cushions when possible and label them in your notes so you return each one to the same position. Keep the product labels and supplied instructions nearby. A small, organized setup makes it easier to notice a color transition, protect stitching and stop when the surface is ready.
Use the simplest decision that fits the job. If the couch has one clear worn patch, begin with one tested color. If several panels have different levels of fading, use the Complete or Master palette to adjust gradually. The system gives you more control, but the result still depends on the condition of the surface and the care taken during application.
A practical stopping point
Pause after each stage and inspect the surface before adding another layer. If the color is even, the texture remains visible and the transition is comfortable at normal viewing distance, the work may be ready for the next care step. If the surface looks heavy, patchy or structurally compromised, stop and reassess instead of trying to hide the problem with more product. Careful restoration is a sequence of small decisions, not a race to cover every mark.
Frequently asked questions
Can I restore a peeling couch?
Severe peeling or bonded-material failure needs a qualified repair assessment; color balm alone is not a structural fix.
Which color should I choose?
Use the VELGLOSS Color Guide, then test the closest shade on a hidden area before treating the visible couch.
Next step
Read How It Works, then choose the system that fits the condition of your couch. The Furniture Restoration page explains the project-specific workflow.