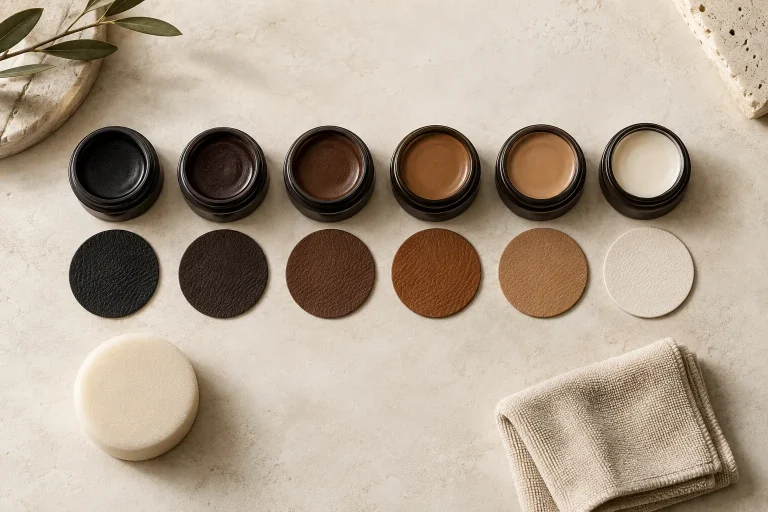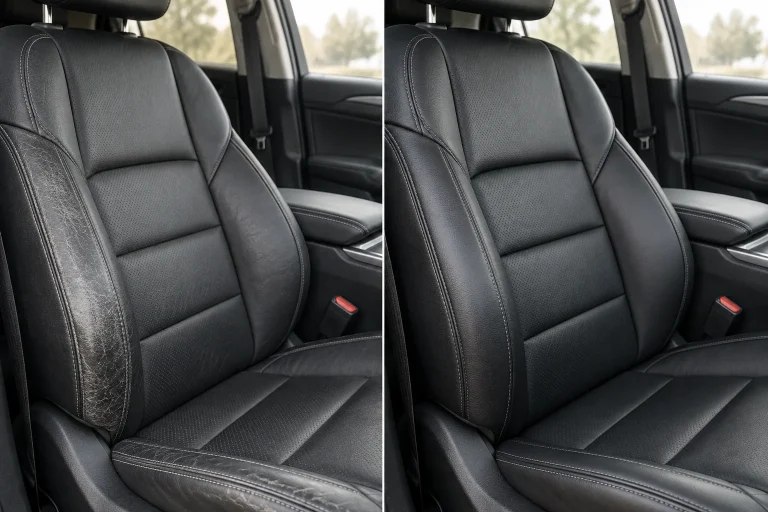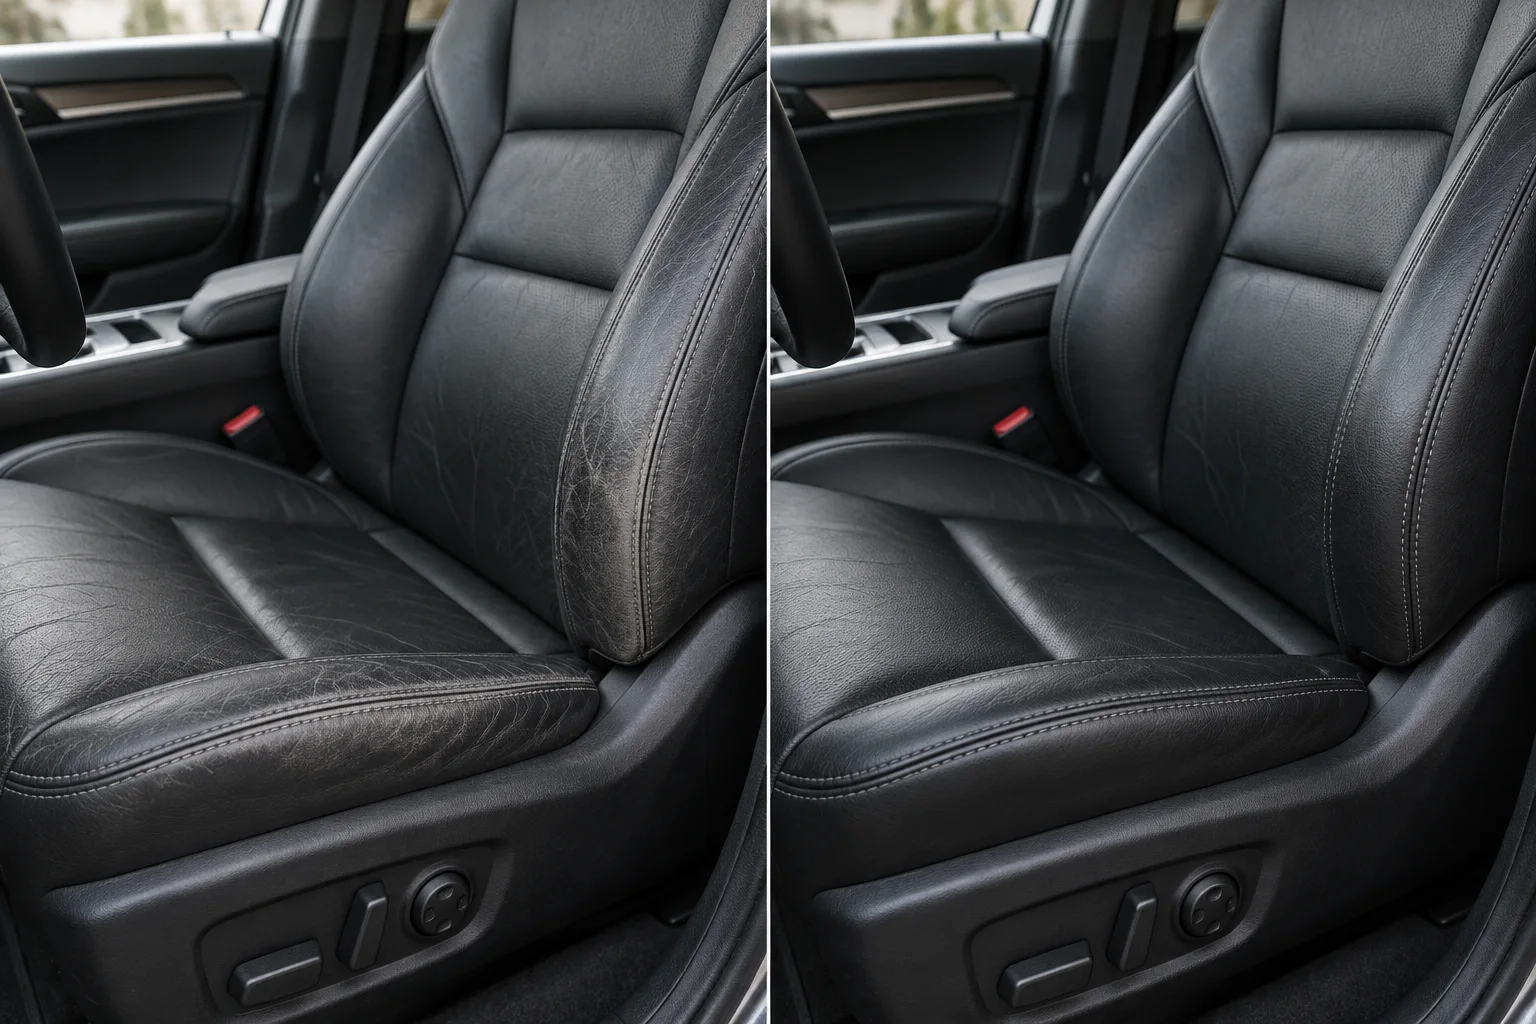
Restore faded black car seats by preparing the surface and applying black color in thin, controlled layers. Black can look different under daylight, cabin lighting and existing finish, so a hidden-area test is essential.
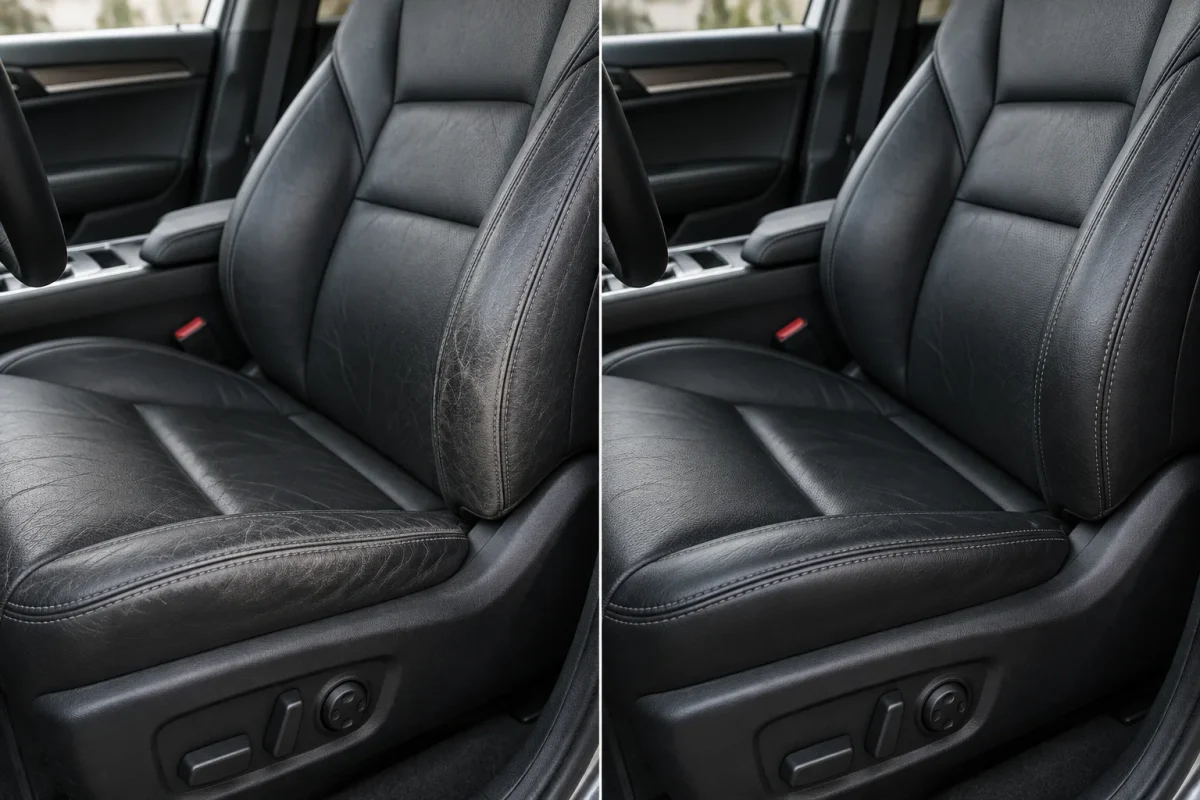
Why black still needs a color test
Black leather may fade toward gray, warm brown or a dull charcoal depending on use and finish. Compare the selected color in a concealed area rather than trusting a screen or a single light source.
Prepare the seat
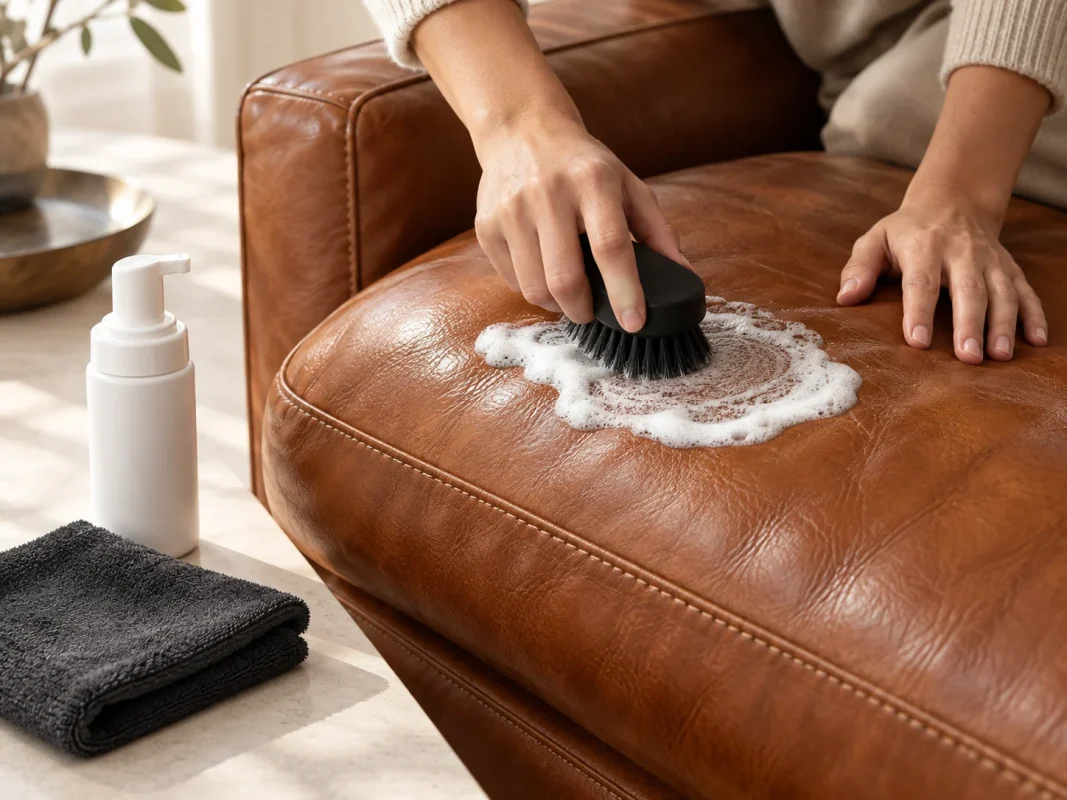
Clean the bolster and worn panels with the supplied cleaner. Let the surface dry and inspect whether the wear is color loss, residue, peeling or a deeper structural problem.
Apply color around the bolster
Use the applicator sponge to build thin layers, feathering into the surrounding area. Avoid flooding perforations, seams or stitching, and pause between passes to evaluate the transition.
Know when to stop
Severe peeling, large tears, large holes and failed seams need professional assessment. A color balm is not a substitute for structural upholstery work.
Care after recoloring
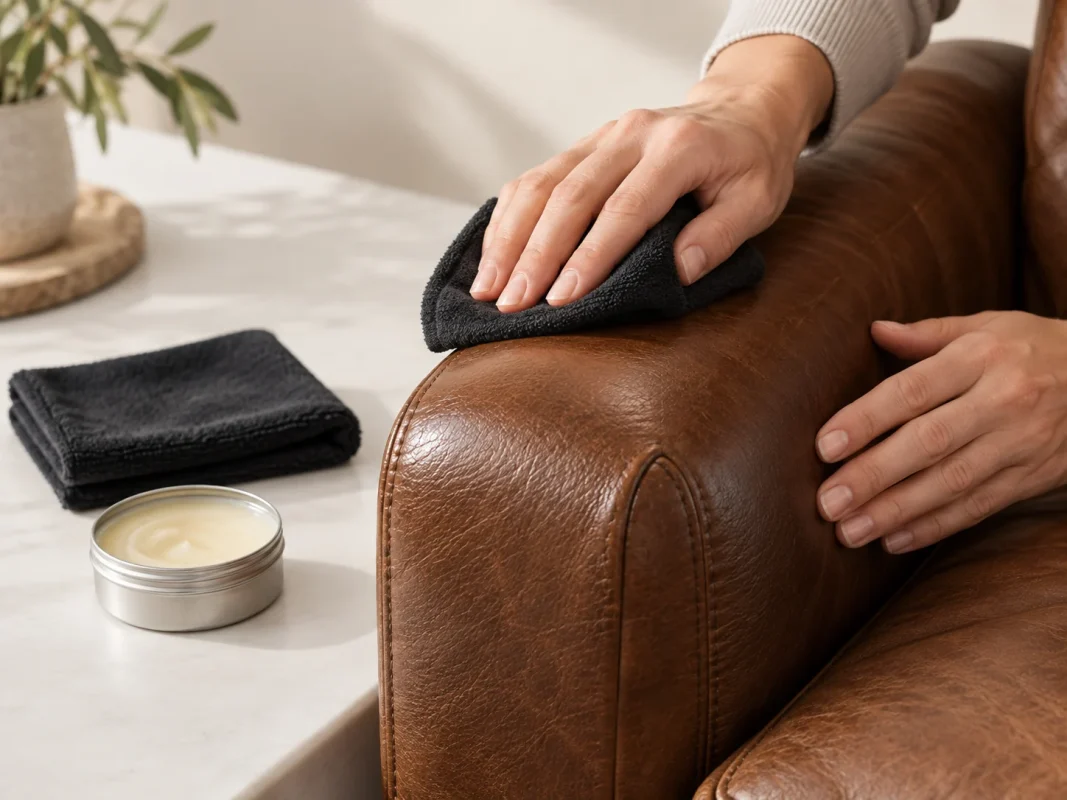
Complete the confirmed workflow with Leather Conditioner as instructed. Normal use should wait until the supplied product guidance says the surface is ready.
Black leather has an undertone
“Black” is not always a single visual target. A worn seat may lean charcoal, cool gray, warm brown or a softened black depending on its age and finish. Compare the selected color on the actual seat in daylight and cabin light. The hidden-area test is not a formality—it is how you see the relationship between the new color and the existing finish.
Blend the bolster instead of painting a stripe
Begin where the color loss is strongest and work outward with less product as you approach sound material. Keep the application thin around seams and perforations. If a transition looks too abrupt, stop and let the surface settle before trying to soften it; adding more product while the first pass is still wet usually reduces control.
Use the right level of correction
A small touch-up may need only one selected color. If the seat has different levels of fading, the Complete or Master three-color palette offers more room to adjust a closest match, darker shade and lighter shade. It still requires a test patch and a measured hand.
Plan for honest aftercare
Allow the completed process to settle according to the supplied instructions, then use Leather Conditioner as directed. Keep a note of the color choice and the areas treated so the next maintenance session starts with information instead of guesswork.
Before you begin
Clean one small section and let it dry before deciding that the target is black. Old conditioner, dust and cabin residue can make a healthy black surface look gray. Compare the clean section with the surrounding seat, then test the selected color where the bolster meets a less visible panel.
Keep the application especially light around perforations and stitching. Black pigment can make texture and edges look heavier when too much is applied at once. A slow, feathered transition is usually easier to live with than a dark stripe that stops at a seam.
A practical stopping point
Pause after each stage and inspect the surface before adding another layer. If the color is even, the texture remains visible and the transition is comfortable at normal viewing distance, the work may be ready for the next care step. If the surface looks heavy, patchy or structurally compromised, stop and reassess instead of trying to hide the problem with more product. Careful restoration is a sequence of small decisions, not a race to cover every mark.
Frequently asked questions
Can I use a black color on every dark seat?
No. The closest shade depends on the original material, age and finish. Use the Color Guide and test first.
Should I choose a three-color system for black?
If fading varies across the seat, a three-color palette can give you more control than a single fixed shade.
Next step
Follow the Automotive Restoration guide and review How It Works before you begin.